How to Paint a Radiator
Our Handy Guide Will Take You Through The Process
Our Handy Guide Will Take You Through The Process
Painting your radiator can seem like a daunting task however it couldn’t be easier! Whether you want to make it a feature focal point in a room or to blend it into the background, our handy guide will talk you through the process step-by-step to ensure you’re radiant with happiness (see what we did there?) with the outcome!
WHAT YOU WILL NEED:
- Drop cloth/a covering for your floor
- Some old paper/card you can put up behind the radiator to protect your walls
- Mild detergent
- Microfiber cloth
- A specialised metal primer
- Graham & Brown Eggshell / Gloss Paint (depending on your sheen level choice)
- A good quality synthetic paint brush
- Paint stick (optional)
- Paint tray (optional)
1. CLEAN AND PROTECT YOUR RADIATOR
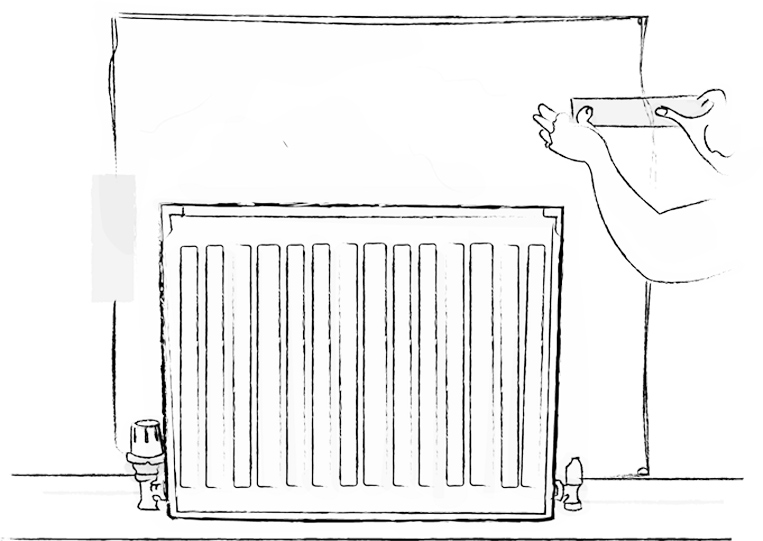
First, make sure your radiator is switched off and allowed to fully cool. During this time, lay down your drop cloth and slide card/paper between the radiator and the wall.
Now wipe down the radiator with mild detergent and warm water and allow to dry.
2. PRIME YOUR RADIATOR
Apply a thin layer of the specialised metal primer to the full radiator and allow to fully dry. The primer will help with adhesion when you apply the topcoat and will ensure you get a smooth, flawless finish.
3. PAINT THE BACK EDGES OF YOUR RADIATOR
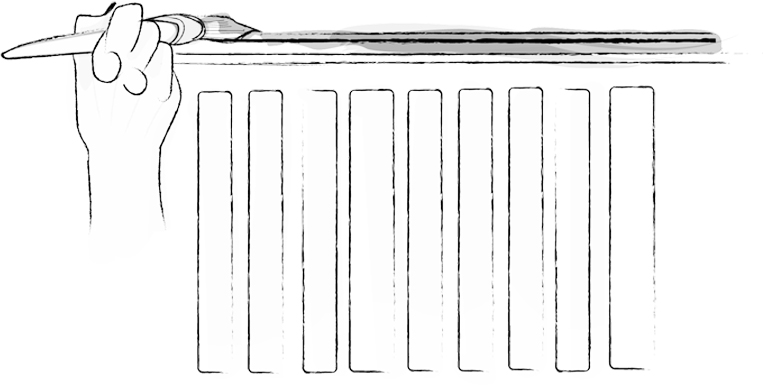
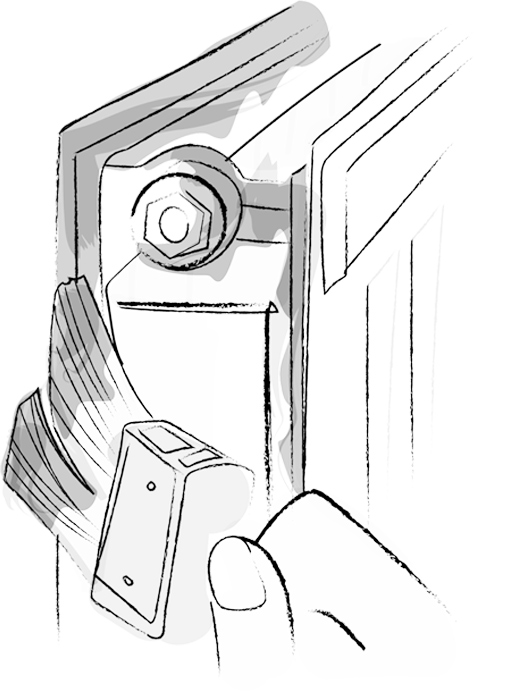
Paint the back edges first, starting on the top section and moving to the sides. Don’t worry about getting too much of it painted, just the most visible bits will do.
4. PAINT THE FRONT OF YOUR RADIATOR
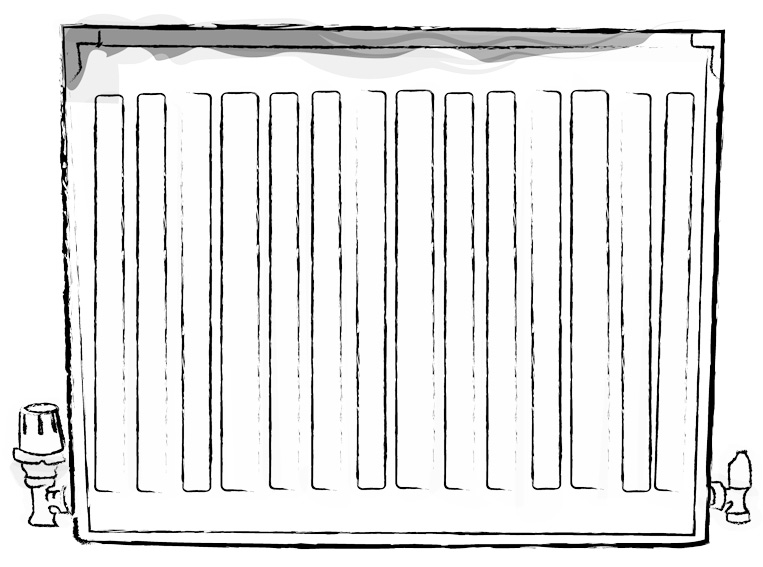
Move onto the face and it’s really important to work in sections. Start with the top of the mouldings, then paint the bottom before joining the sections together.
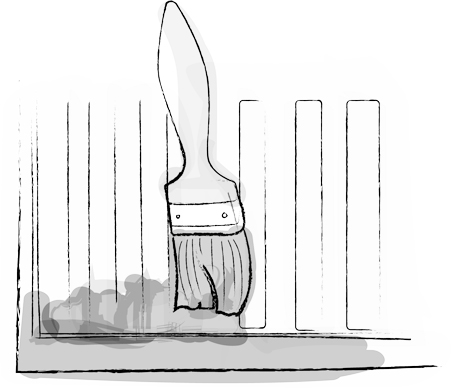
5. PAINT THE TOP AND BOTTOM EDGES OF YOUR RADIATOR
Paint the back edges first, starting on the top section and moving to the sides. Don’t worry about getting too much of it painted, just the most visible bits will do.
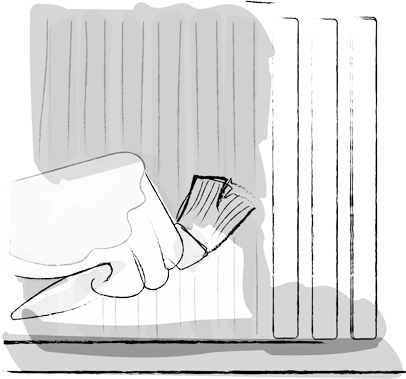
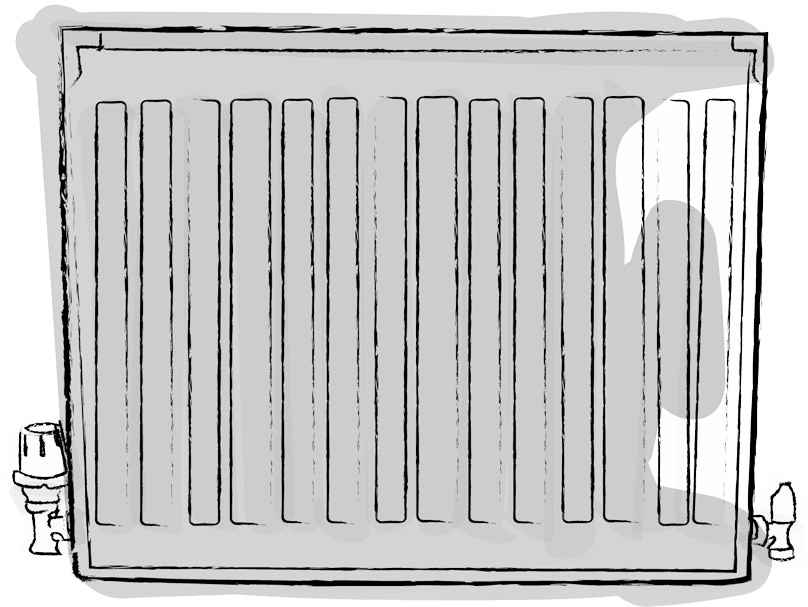
6. REPEAT THE PROCESS
Repeat this process across the length of the radiator remembering to slightly overlap each new section with the one you’ve just completed. This will help promote an even coverage and colour distribution.
7. APPLY A SECOND COAT OF PAINT TO YOUR RADIATOR
Allow this to dry fully before applying a second coat following each of the above steps again. Both the Graham & Brown Eggshell and Gloss Paint are a 2 coat system, once the 2nd coat is dry you will have maximum coverage, perfect colour quality and above all, a completely wipeable and scratch resistant finish.
Allow your second coat to completely dry. After this, remove the drop cloth and wall protection, step back and enjoy your hard work.
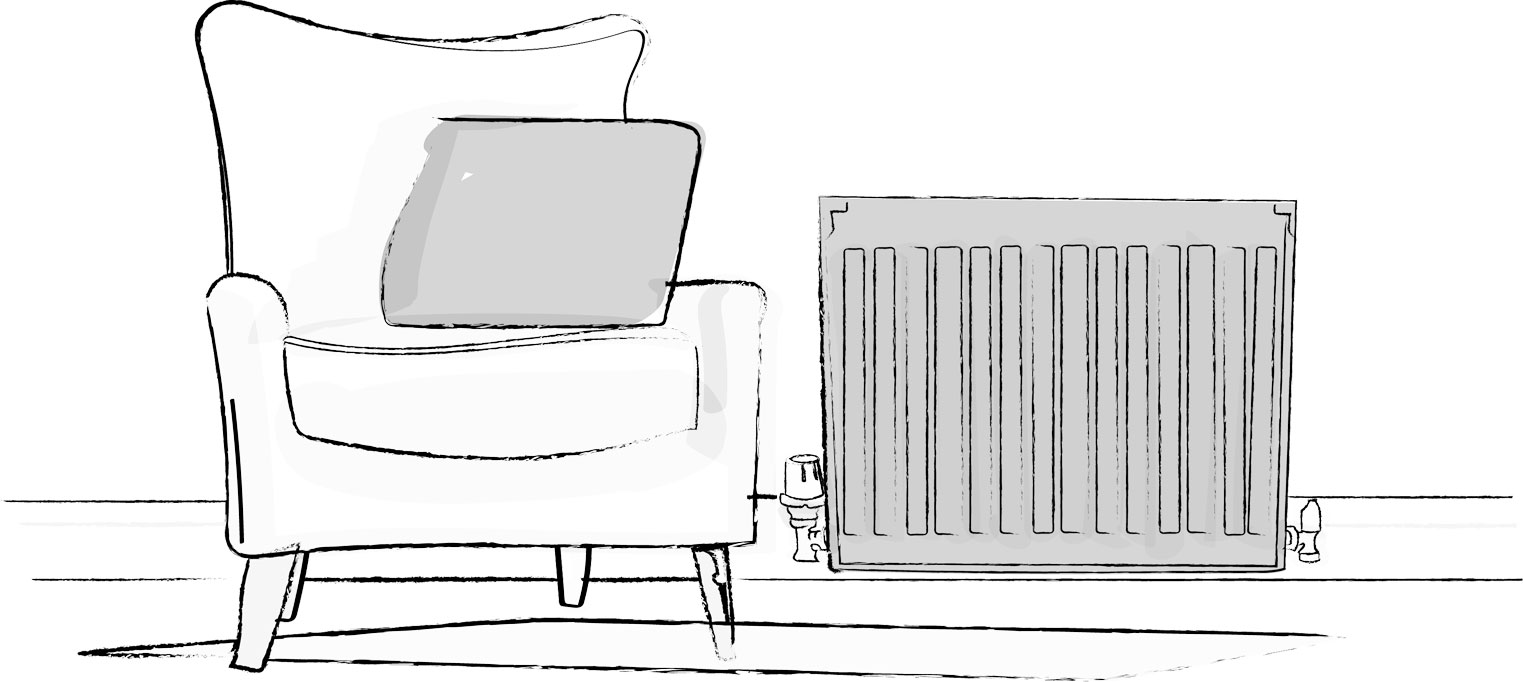
Remember, there are no rules when it comes to your own projects. Why not play around with different colours or create patterns? You could mask off different areas and repeat the steps with another colour. The possibilities are endless!