How to Paint a Fireplace
Add Spark to your Interior Decor
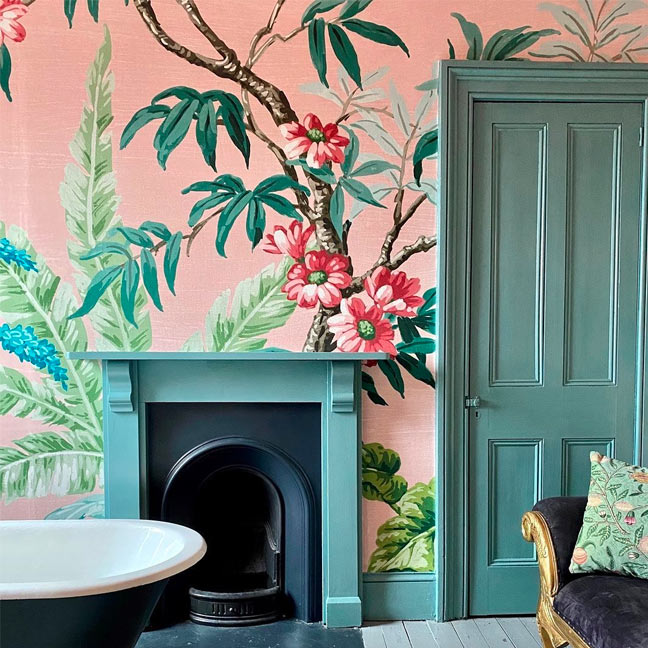
Fireplaces are natural centrepieces in our homes, so why not use some paint to make the most of them? Painting a fireplace isn’t as hard as it sounds: you only need to focus on the surrounds to make a subtle improvement or striking statement.
In this blog, we’ll take you through how to paint a wooden fireplace surround. Wooden fireplaces and mantelpieces are the most common in homes and giving them a new look is simple with the right paint and tools.
WHAT KIND OF PAINT CAN YOU USE?
When it comes to painting a fireplace surround or mantelpiece, we recommend using an eggshell paint. Graham & Brown’s eggshell paints are suitable for interior wooden surfaces and are highly durable and scratch-resistant. The slight gloss of an eggshell paint also makes scuffs and marks harder to spot, which is good for an area where you might be making frequent rearrangements.
If you’re painting the actual fireplace rather than just the surround, such as a chimney or stove, you will need a heat-resistant product.
WHAT YOU WILL NEED:
- Sandpaper
- Paint primer
- Masking Tape
- Dust cloth
- Sugar soap solution
- Dust sheet
- Paint brush/small paint roller
1.) SAND DOWN AND CLEAN THE FIREPLACE
Before going near the paint, it’s a good idea to sand down the surface of your fireplace surround. This is especially important if it already has a layer of paint, which might be cracked or peeling in places.
After sanding, take a dust cloth and wipe away any debris, dust or ash that’s made its way onto the surround. Use a clean cloth and sugar soap solution, or another mild detergent, to clean the surface afterwards. It’s important to make sure the area is completely smooth so that you get a clean finish once applying the paint.

2.) USE MASKING TAPE
Protect your walls by putting masking tape around the edges of your fireplace. You might also want to put down a dust sheet so that you don’t get any paint on your floor.

3.) APPLY PAINT PRIMER
There are lots of reasons for applying a primer before moving on to your main coat of paint. Paint primer does a good job of evening out a wooden surface by filling in the grain, and if you choose a shade that matches your top coat it can really make the final results shine. Wood also tends to soak up paint, so it’s best not to go straight in with your main product.
Use a paintbrush or small paint roller to apply the primer. Take your time - this step is just as important as applying your top coat!
4.) APPLY MAIN PAINT
Once the primer has dried, you can start applying your main paint. As before, use a paintbrush or small paint roller, and aim to keep a wet edge as you paint. This will help you achieve a neat finish with no darker or lighter patches.
To really make your paint job pop, wait for it to dry and then apply another coat.
Want more tips on how to paint features in your home? Check out our blogs on how to paint a radiator and how to paint kitchen cabinets.
