How to Paint a Geometric Wall
Take a look through our blog which will walk you through the steps of how to paint a geometric wall.
What you will need:
- Large protective sheet
- Cloth
- Wall filler
- Sand paper
- Standing platform
- Paint roller & brushes
- Tape measure
- Pencil
- Masking tape
- Tape measure
- Chosen paints
- Hairdryer (if needed)
1. Prepare the Wall for Painting
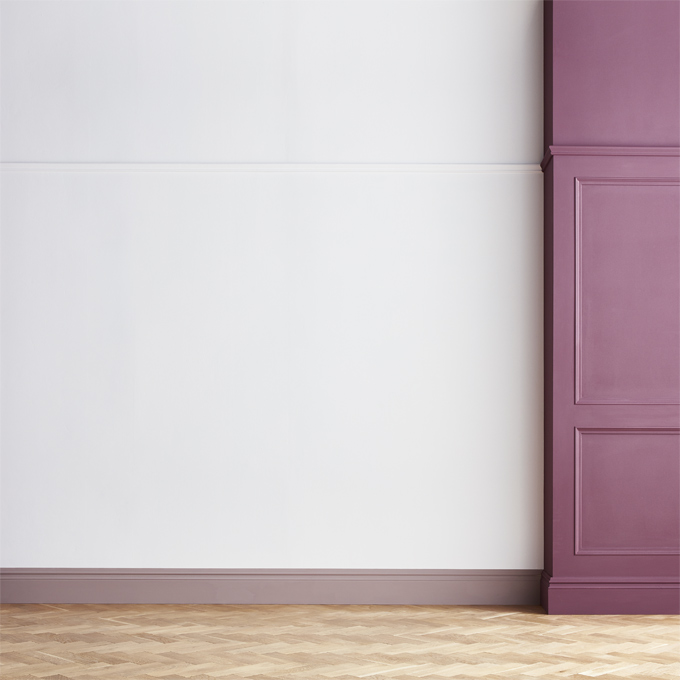
Before you pick up that paintbrush, you eager so-and-so, it’s important to ensure that any blemishes or chips are repaired and that any dirt on the surface is cleaned away.
This is key for painting a geometric wall pattern, as lumps and bumps with build-up could leave your edges looking a little less than crisp, and we don’t want that! For more detail on preparing your wall, find out how to paint a room with our handy guide.
2. Apply Undercoat Paint to Your Wall
For our undercoat we have chosen Baby Powder. This gorgeous white gives us a clean backdrop to make our geometric shapes really pop! If you are going for a white or neutral backdrop, try to select a shade with complementing undertones to the main colours in your project. If you’re more about that colour clash life then go for it! The possibilities are truly endless – your walls, your rules.
Ensure you stir your paint well, for around three minutes, and if your wall requires more than one tin of paint, mix the two together in a clean container.
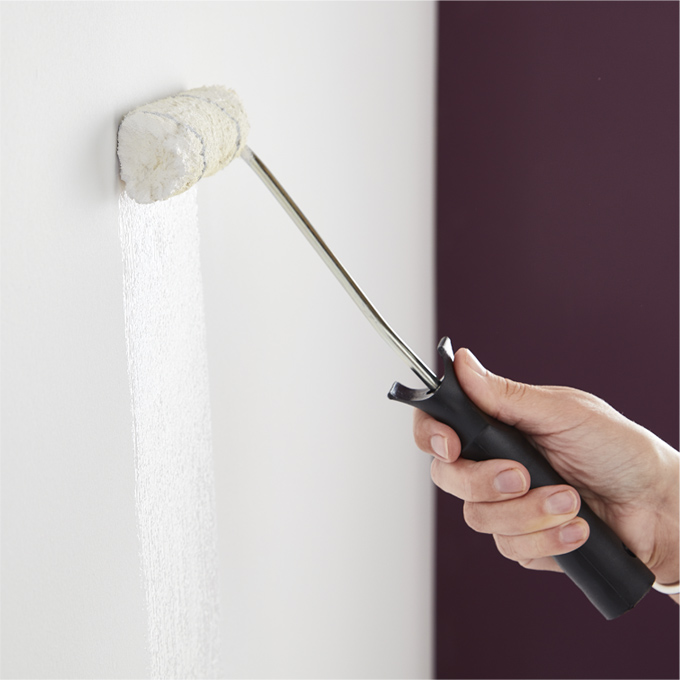
Apply your first coat of paint to the wall, remembering to always work to a wet edge – avoid painting all the edges before moving to fill in the middle as the paint will then start to dry and you won’t get the best finish. The ideal is to work to a 1m squared area before moving onto the next. Leave for four to six hours to dry, then apply your second coat.
3. Plan Out the Geometric Shapes for Your Wall
Ensure your undercoat is fully dry before moving on - we’d suggest allowing at least 24 hours. Trust us, you don’t want to risk any masking-tape mistakes!
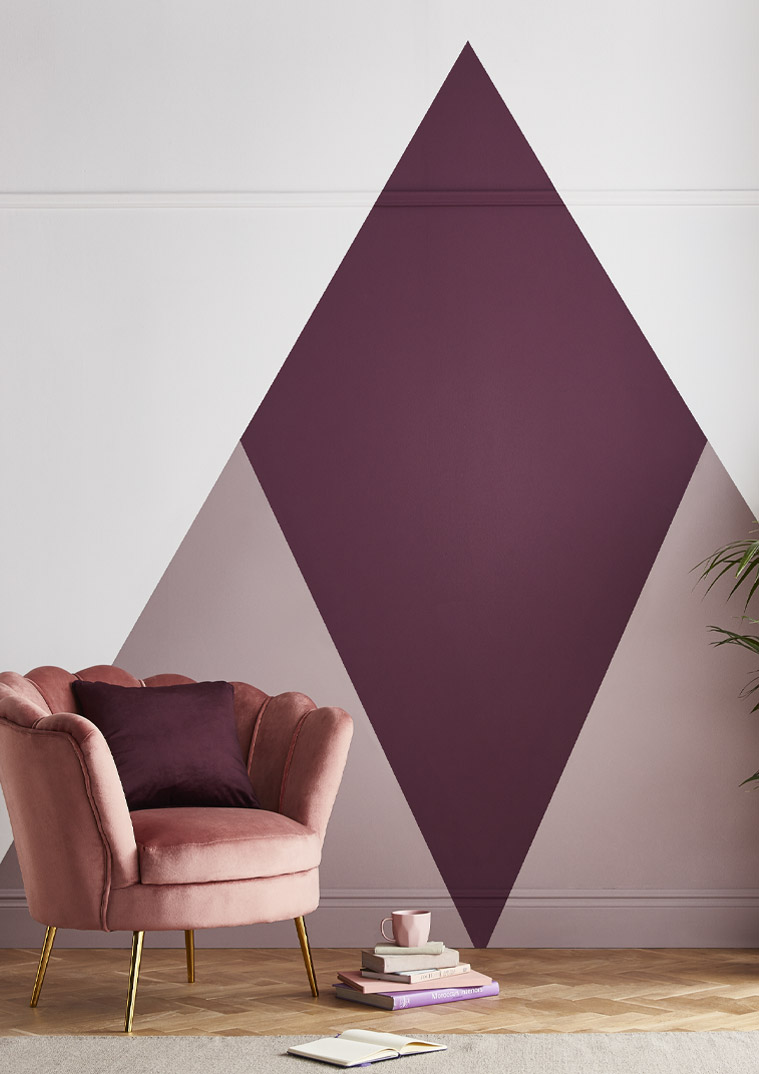
To achieve our symmetry fantasy for the diamond design we’ve chosen, we need to do a bit of measuring – but don’t worry, it’s not as tricky as it sounds.
Top Tip
If you’re going for a more asymmetrical design, it’s still worth marking out a bit of a plan before you get sticky with the tape – even if you don’t end up sticking to it.
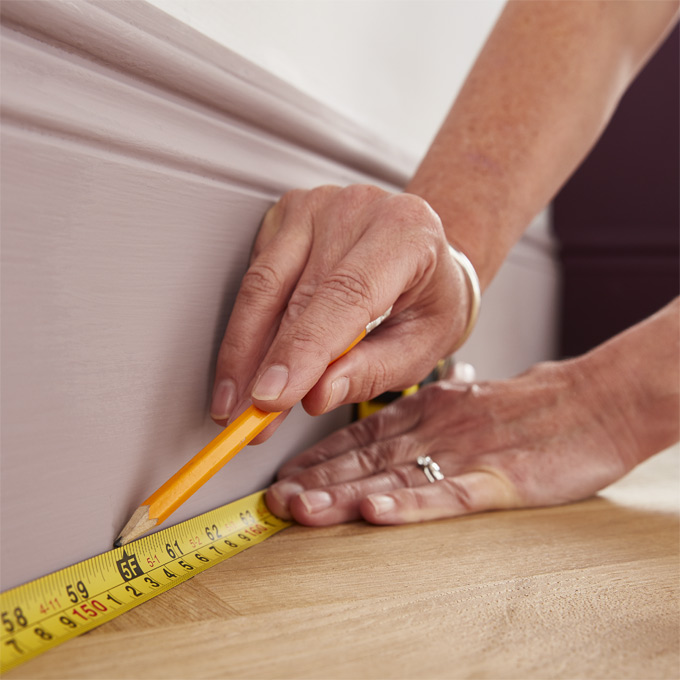
Measure the wall or section of wall that you intend to work with and find the centre. Lightly mark this spot with a pencil at the bottom and upper points where you want the diamond to peak. Then, mark the outer bottom corners by measuring the same distance either way from the bottom centre, creating a large triangle shape.
4. Apply Your Masking Tape
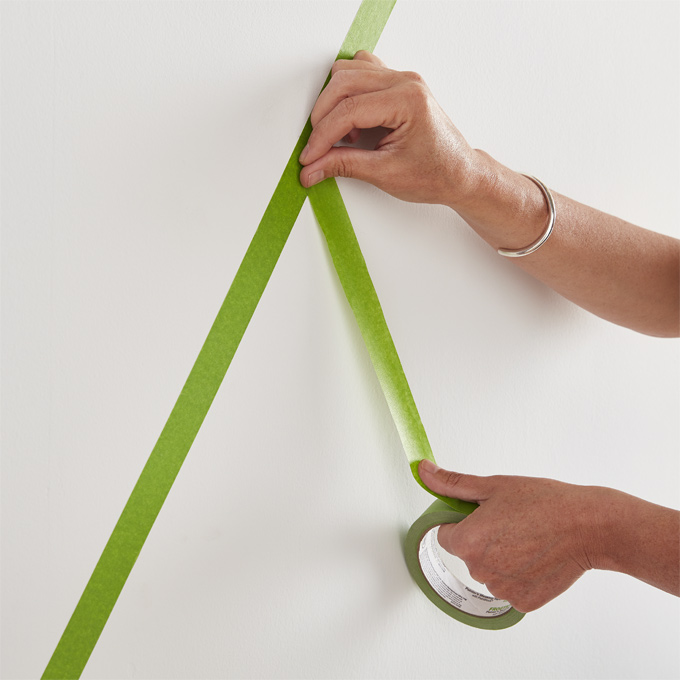
Apply a strip of masking tape from each bottom corner up to your centre peak. Take your time – you want it to be as straight as possible.
Top Tip
To ensure an extra sharp edge, once your tape is applied, paint over the edge of the tape to create a seal. This will help avoid any potential paint bleeding.
With your tape measure and pencil, find the middle-height and lightly mark on the tape edges of the large triangle. Apply a further two strips of tape from the bottom centre point to these new mid-points.
5. Start Painting Your Geometric Wall
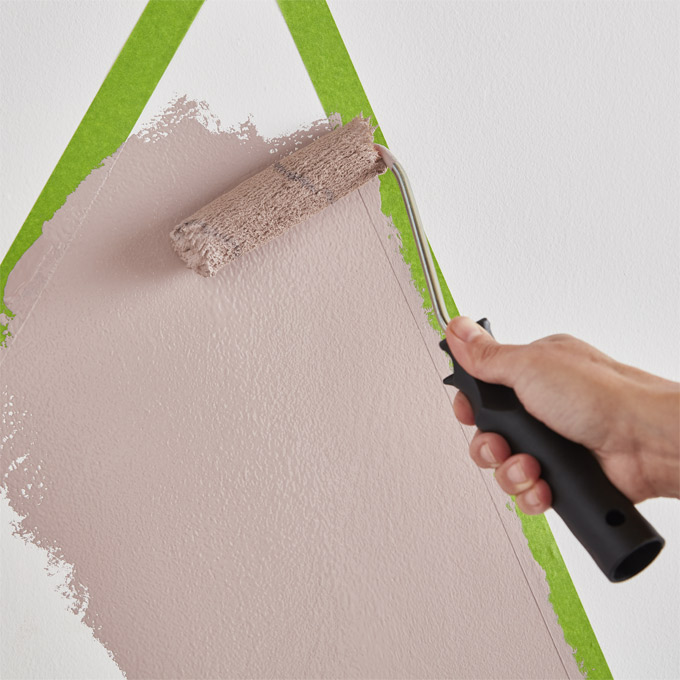
With a paint roller, or brush if you prefer, fill in the two lower triangles with your first chosen paint colour, being especially careful not to go outside the taped lines. We know, right, finally a practical use for all those hours we’ve spent with our adult colouring books! Allow to dry and add your second coat.
We’ve gone for the beautiful Spiced Mulberry shade, which pairs perfectly with our hero hue, Epoch. If you want to keep borders between your geometric shapes, you can go on ahead to step 8.
6. Remove The Masking Tape
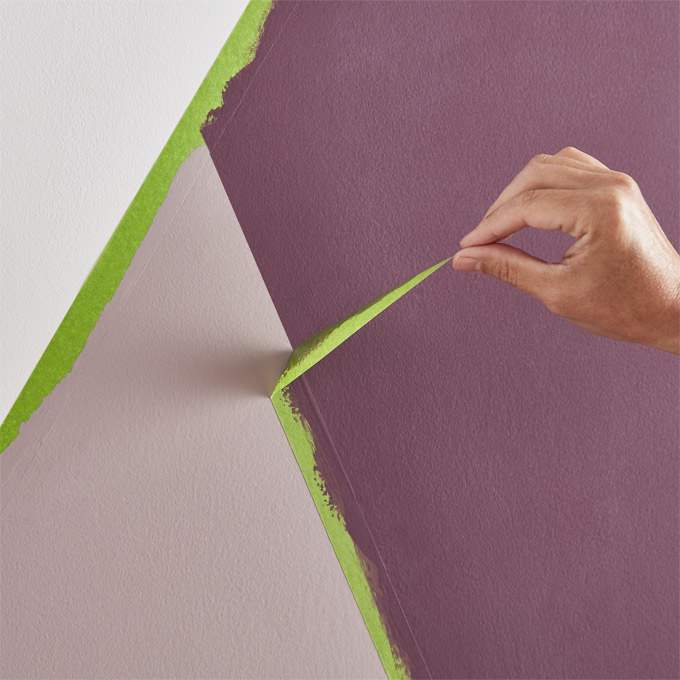
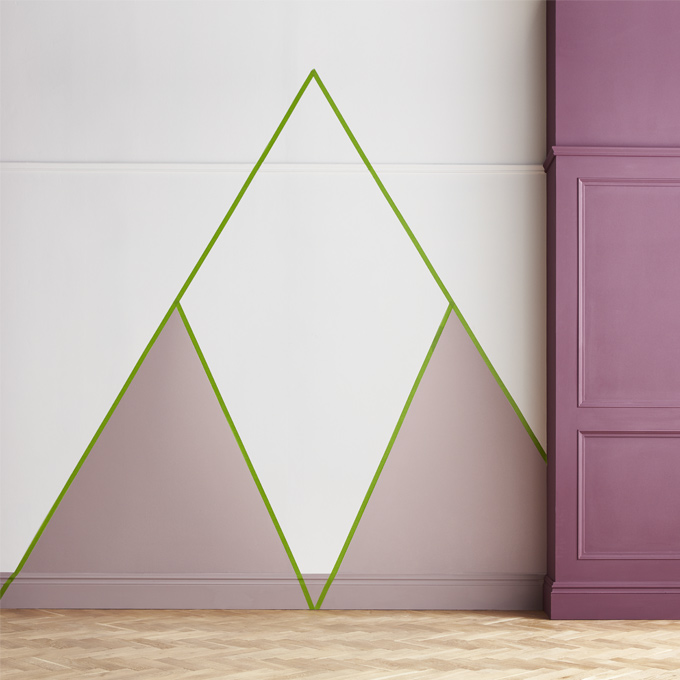
When dry, gently remove the tape on the inner sides of the small triangles. Pull the tape at a 45-degree angle in a smooth motion.
Top Tip
If the tape begins to pull off paint underneath, grab a hairdryer – trust us, it helps melt the glue of the tape for a smoother removal.
7. Re-apply the Masking Tape
We now need to re-apply the tape over our small triangles -- and you know what we’re going to say, right? Yes, ensure the paint is fully dry first!
Apply new strips of tape as flush as possible along the inner edges of the triangles. Getting the position perfect can be tricky, so it’s better to have a tiny bit of the colour outside the line to avoid your base colour coming through in between the shapes.
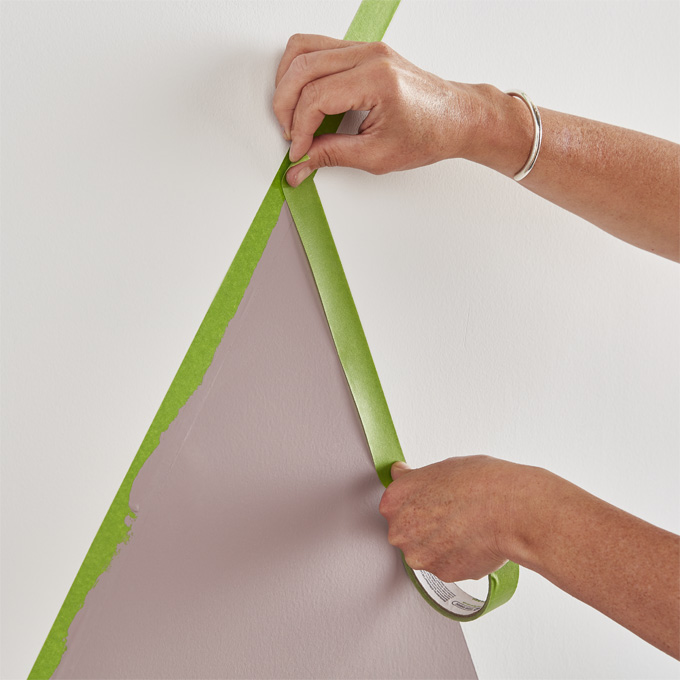
8. Paint Your Diamond Shape
In the same way as in step 5, apply two coats of your main colour to the diamond-shaped area in the middle.
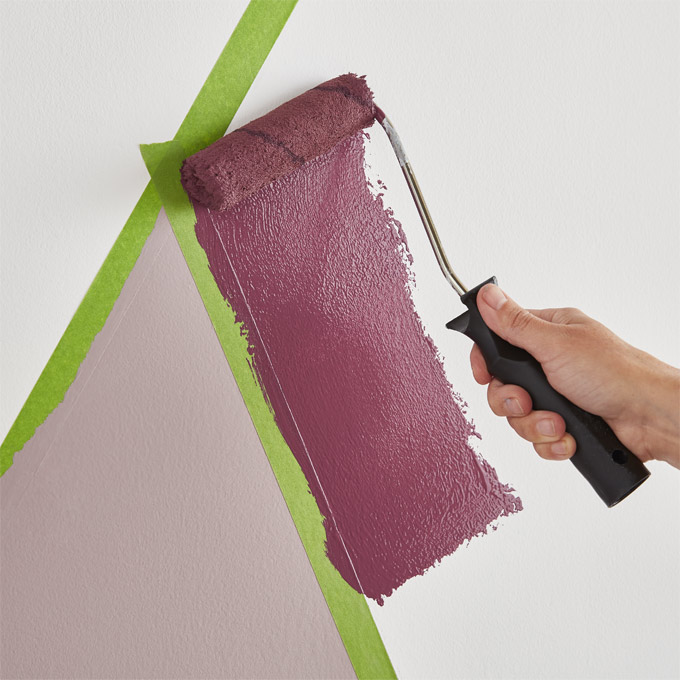
9. Finish Up Your Geometric Wall
Time to take all that tape off! Go slowly, you don’t want to fall at the last hurdle. Plus, it’s the most satisfying step of all – savour it!
