How to Paint a Room
A simple step by step guide from Graham & Brown.

Written by James Hughes,
In-house Decorator at Graham & Brown
Looking for tips on how to paint a room? Simply watch our step by step video below and read through our simple tips for making painting easy, from preparation to the finishing touches!
Painting is the most common DIY task and it's easy to see why! Whether you're a decorating novice or a seasoned veteran this handy guide will point you in the right direction for the perfect room refresh!
Before you jump head first into the task at hand, there are a few things you need to consider: What finish of paint you would like and the fun part - choosing a colour!
Visit our handy guide to our different paint finishes here. If you've already chosen your paint, then you've completed half the task - this would be a great time to reward yourself with a cup of tea. So, you've bought the paint, now what? We've created a handy shopping list of the decorating essentials for you.
WHAT YOU WILL NEED:
THE ESSENTIALS:
- Your chosen emulsion color (we have over 400 paint colours to choose from if you're stuck!)
- A small angled paint brush at around 1½” wide
- A paint roller & tray
- A damp sponge
- A canvas sheet to protect the floors and any furnishings that can't be moved out of the space (old bed sheets work perfectly too)
- Primer & Undercoat (we would always recommend)
- Painter's tape or masking tape
- A ladder to reach the highest points on the wall
- A paint kettle
- *Coffee tackle
OPTIONAL:
- Ready-mixed filler
- A flat scraped tool
- Fine sandpaper
The key to a professional finish is preparation!
1.) PREPARE THE ROOM!
Remove as much as you can from the room you are painting and cover any remaining furniture/objects and of course, your flooring with your choice of sheet.
Secure it with a little bit of tape to prevent movement whilst you're painting.
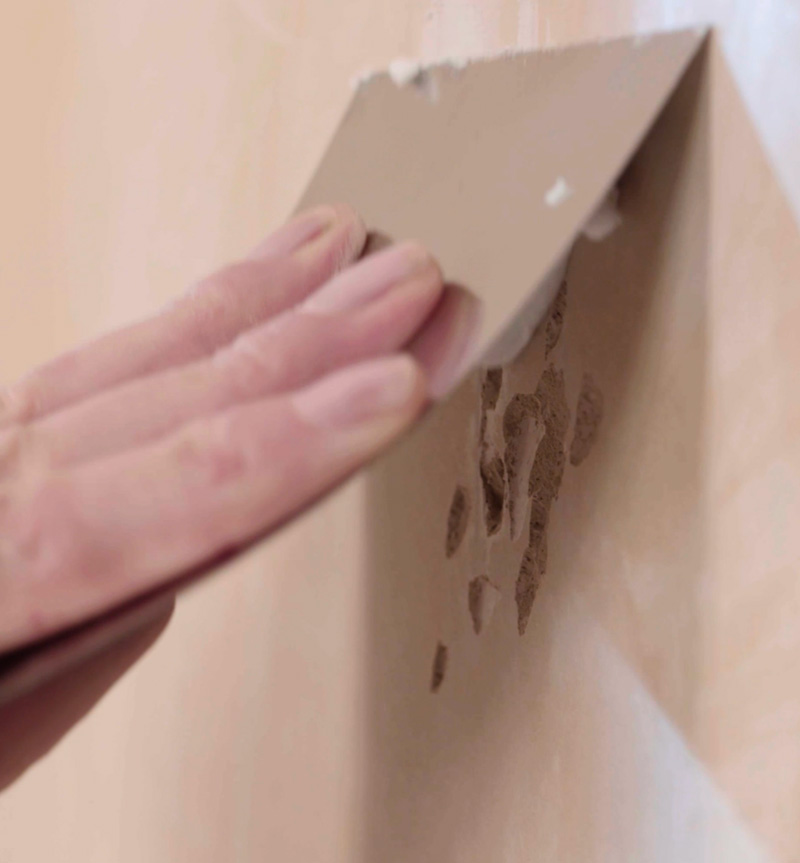
2.) FILL THE HOLES
Any holes from wall art or fixtures will need to be filled for an even finish, don't worry this is super quick and easy! Just take a small amount of filler with the edge of your scraper and holding it at a 45-degree angle against the wall, pull the filler across the hole. Then holding the scraper to the wall at a 90-degree angle, remove any excess filler. Follow the advised drying time of the filler you have chosen and once dry, use fine sandpaper to remove any excess filler and create a smooth surface.
3.) WASH YOUR WALL
Use a damp sponge to wash you wall. Sugar soap or diluted washing up liquid work perfectly fine as the most important part of this step is making sure your choice of cleaning product has been properly washed off and is perfectly dry before painting. Preparation is the key to a long-lasting paint finish, if you skip this step your walls could chip and be at risk of not creating a professional finish.
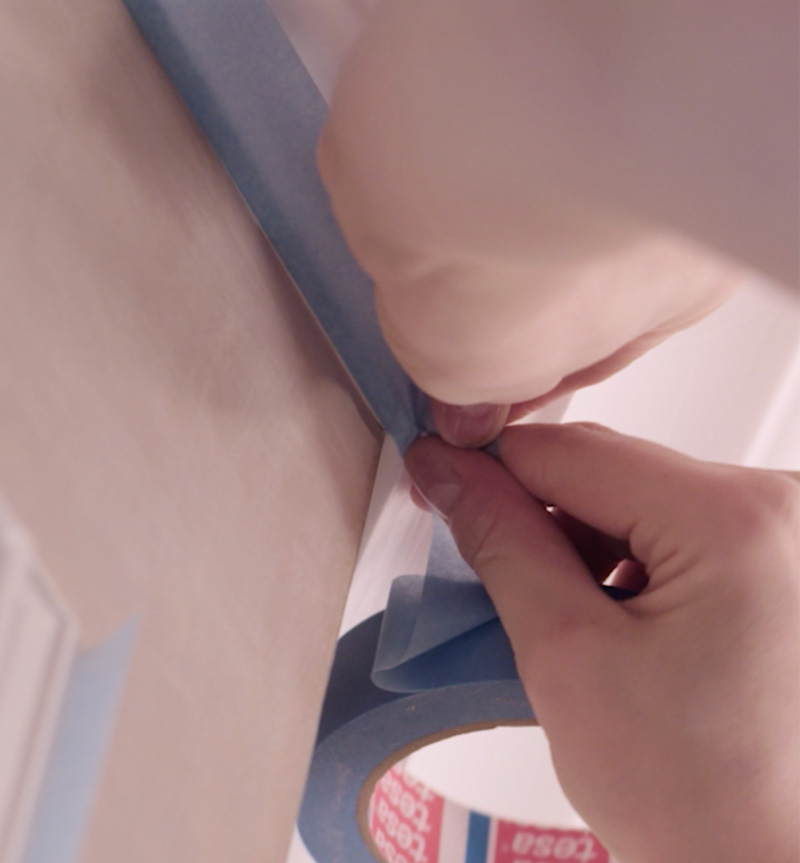
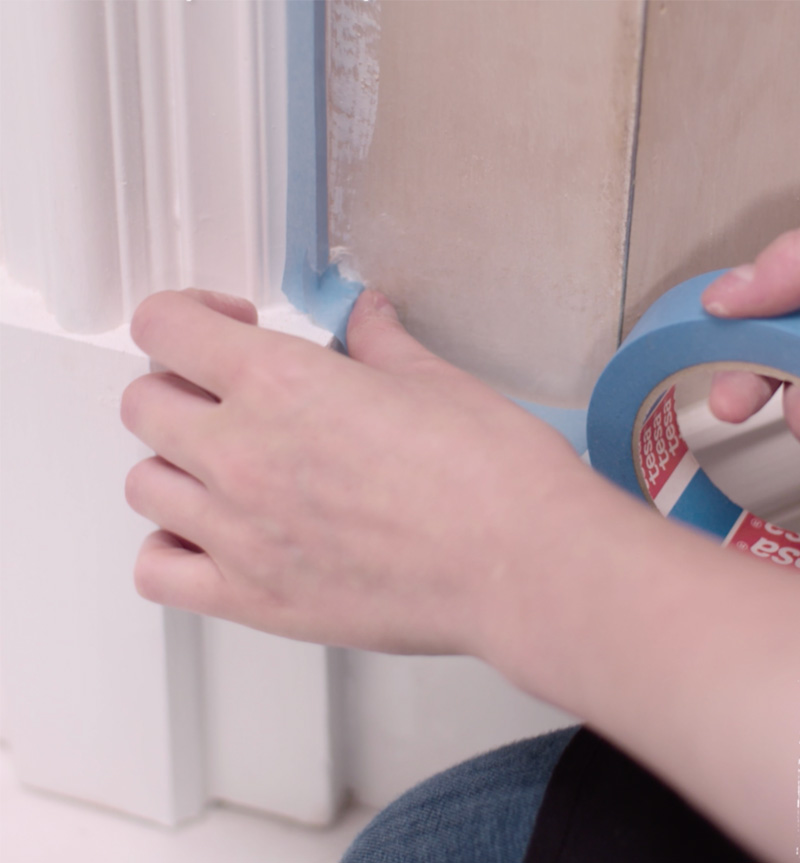
4.) TAPE THE EDGES
Use your choice of tape to go around any edges of things you don't wish to paint for example; light switches, plug sockets & skirting boards.
Alternatively, if you have a screwdriver handy, unscrew the sockets and switches to get a perfect finish. Be sure to keep your screws safe though!
The preparation work is now complete!
Painting
1.) PATCH PRIME THE HOLES
You can skip this step if you’re painting onto existing paint (win!) although we would suggest diluting a little of your chosen paint to patch prime those holes you’ve filled! An easy way of deciding is if you have more than a few holes bigger than a ten pence piece, prime to be safe!
2.) MIX IT UP
Let’s mix it up! If your space requires more than one tin, mix the two together in a paint kettle to ensure a perfectly even colour. Stir your paint thoroughly!
TOP TIP
Pop your favourite song on and stir your paint for the whole tune! Or about 3 mins! This makes sure your paint has been mixed properly but also makes the task fun!
3.) YOUR READY TO PAINT!
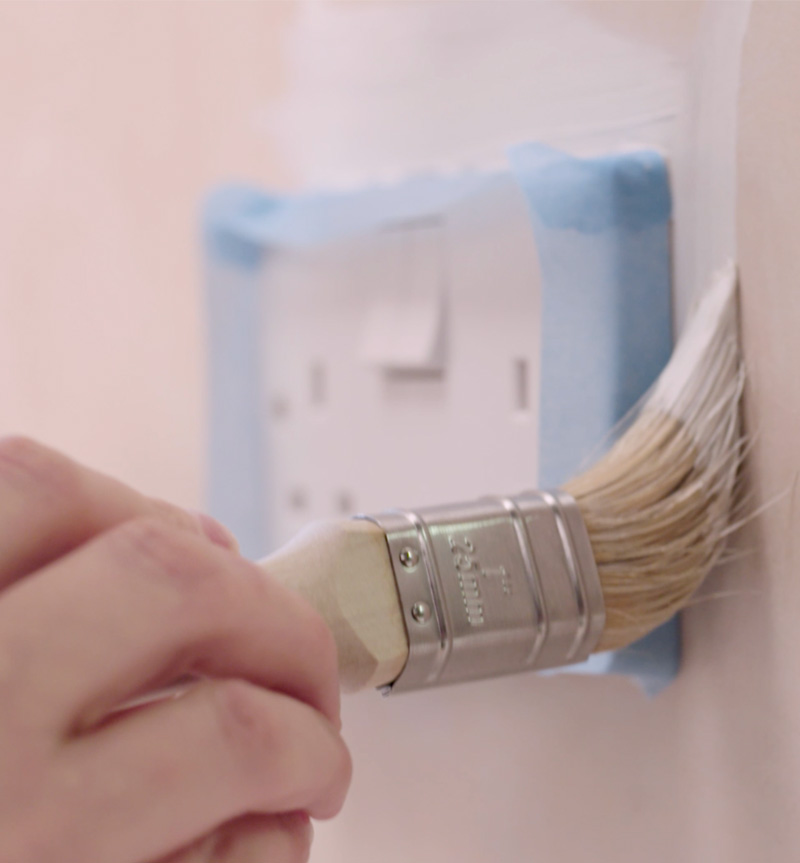
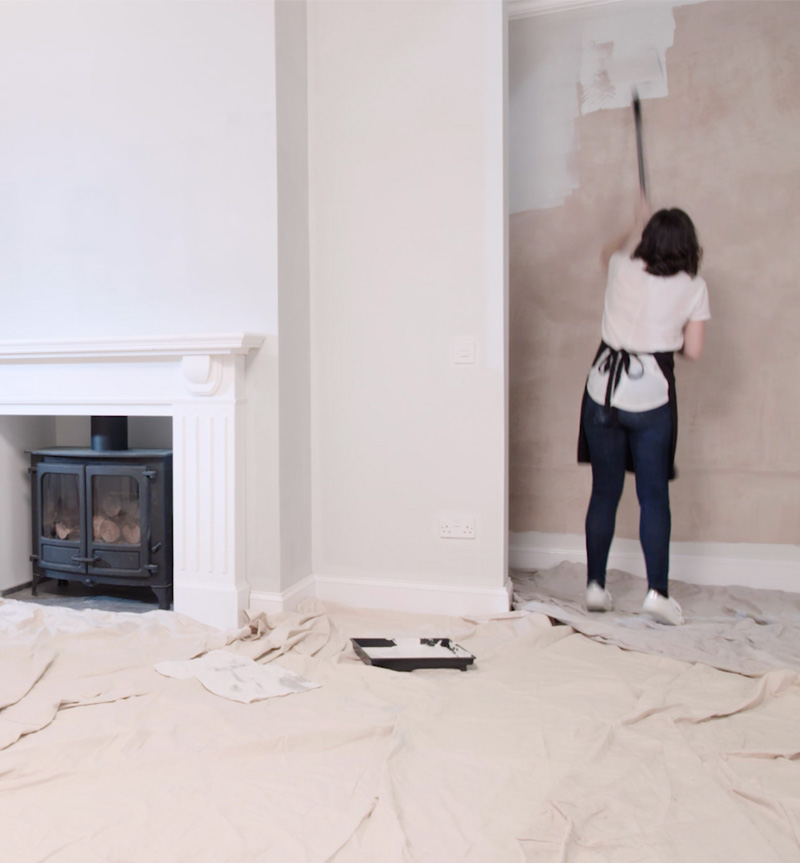
You’re ready to paint! Start by doing all your edges with a brush, this makes it a lot easier and gives you a frame to work within with your roller. Then, grab your roller and give the whole wall one coat in diagonal ‘V shaped’ motions. Leave for 4-6 hours to dry, depending on room temperature.
4.) REPEAT THE PROCESS
How easy was that! Time for your second coat, repeat exactly the same process as you did with Step 3. When you have finished, take off your tape (if applied) and then step back and admire your hard work and make yourself a well deserved cup of tea.
REMEMBER
Leave the correct amount of time for your paint to dry before hanging any wall art or pushing your furniture up to the walls! It may be dry to the touch but that doesn’t mean it is fully dried!