How to Paint Furniture
Upcycling your furniture is sustainable, cost-effective and a perfect way of injecting some newness into your home!
Upcycling your furniture is sustainable, cost-effective and a perfect way of injecting some newness into your home! There are really no limits to what you can create and one of the most straightforward techniques for this is a fresh lick of paint.
In this handy guide we’ll talk you through, step-by-step, how to achieve a flawless paint finish and breathe new life into your second-hand furniture. We’ll be demonstrating on a wardrobe, but you can apply the following rules and tips to any wood furniture.
WHAT YOU WILL NEED:
- Drop cloth/a covering for your floor
- Sandpaper (medium-grit and fine-grit)
- Paint brushes
- Bucket
- Mild detergent
- Microfiber cloth
- Graham & Brown Primer & Undercoat
- Graham & Brown Eggshell/Gloss Paint (depending on your sheen level choice)
- Paint stick (optional)
- Paint tray (optional)
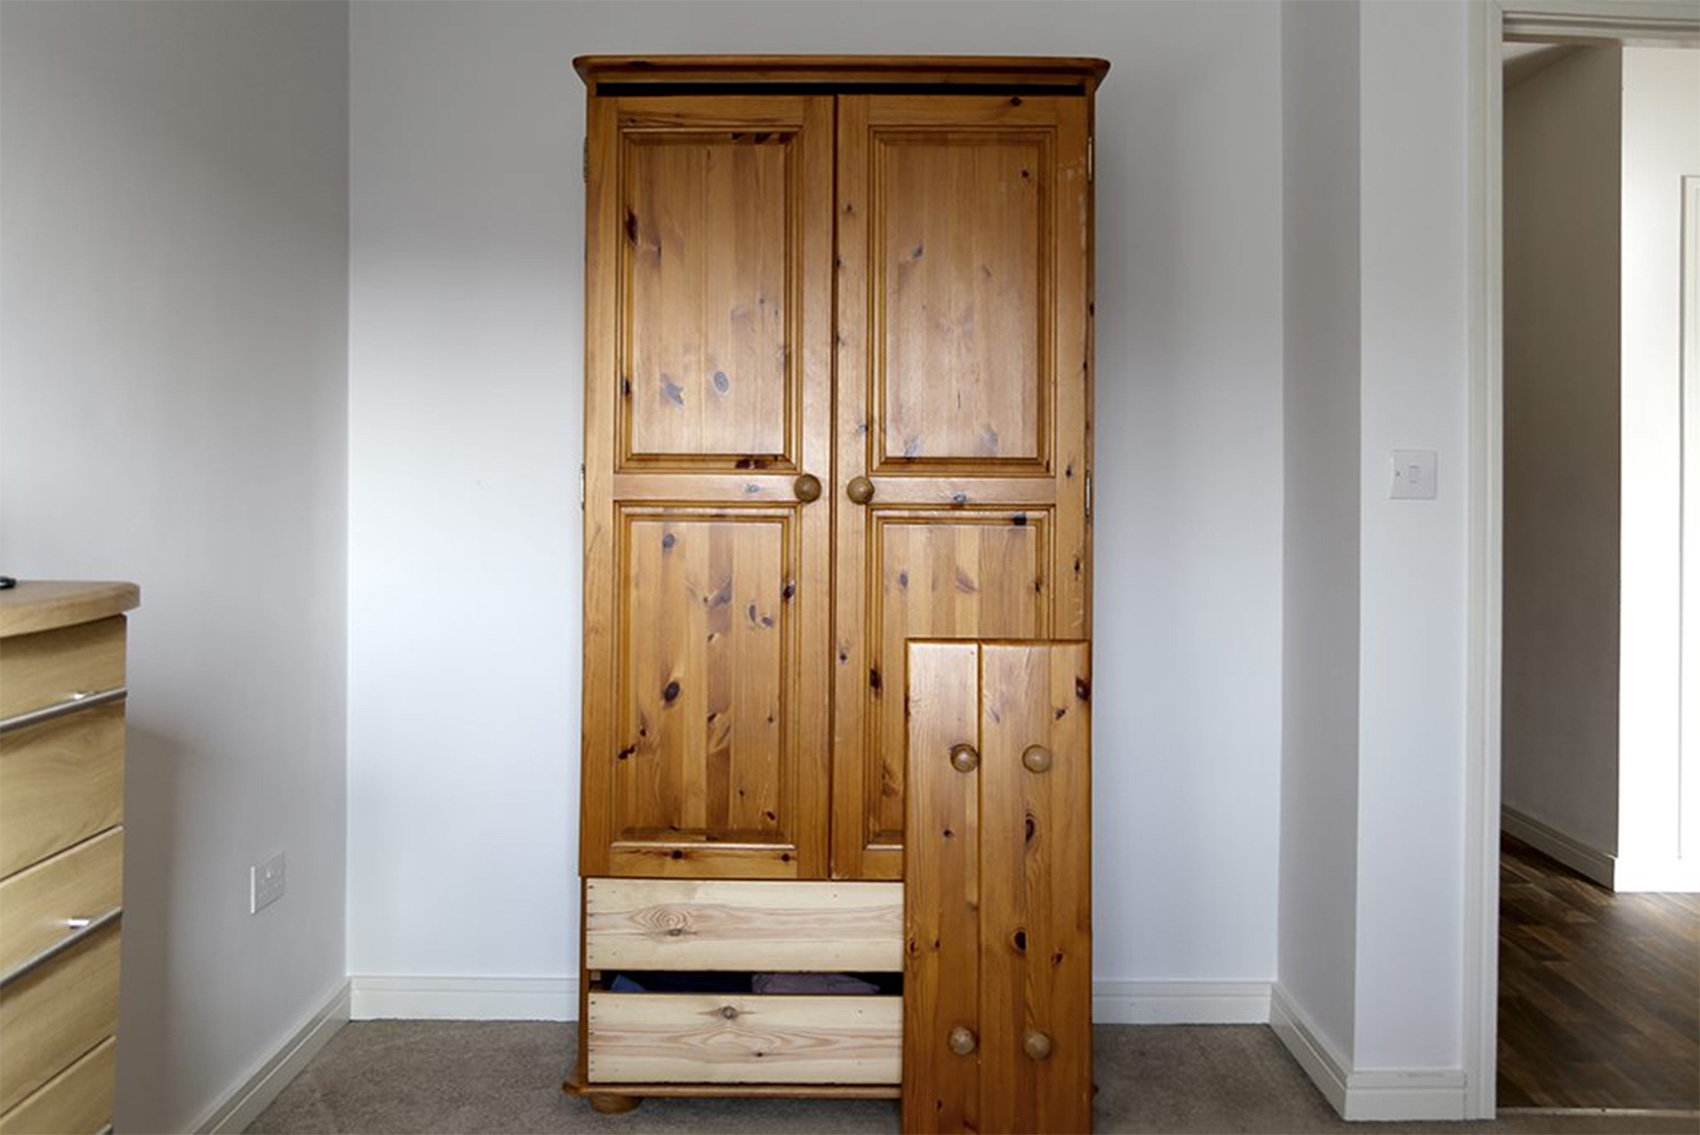
HERE IS OUR BEFORE PIC – SHE’S A BEAUTY BUT COULD DO WITH A LITTLE FACE LIFT!
1.) PREP, PREP AND PREP SOME MORE.
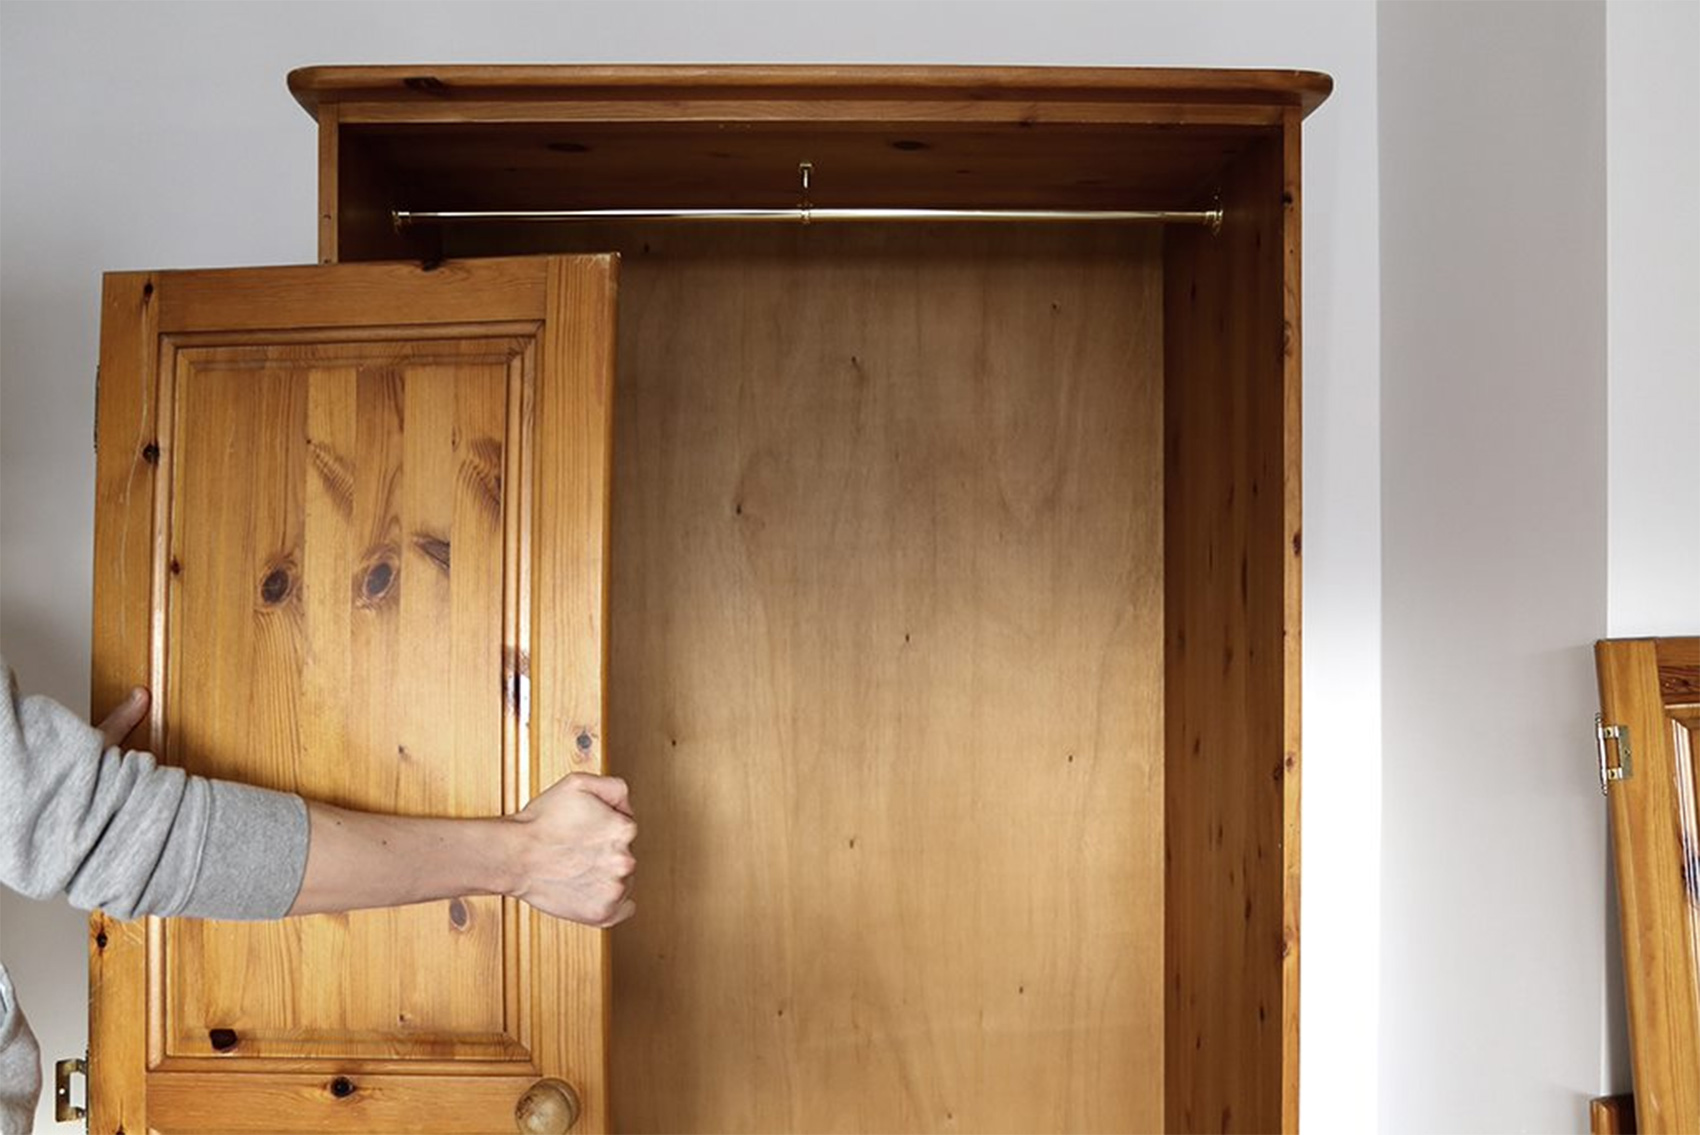
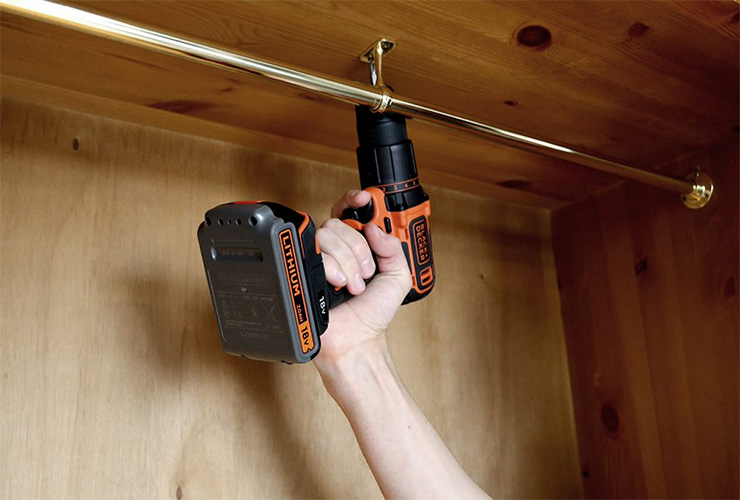
Lay your drop cloth underneath the area you’ll be working on to ensure any spillages or rogue paint brushes don’t spoil your floor. Take off any removable parts (in this case the wardrobe doors, drawers and rail), this will make painting a lot easier however if you can’t then don’t worry, you’ll still achieve the same goal.
Clean all surfaces with warm water and a small amount of your mild detergent then allow the furniture to dry completely.

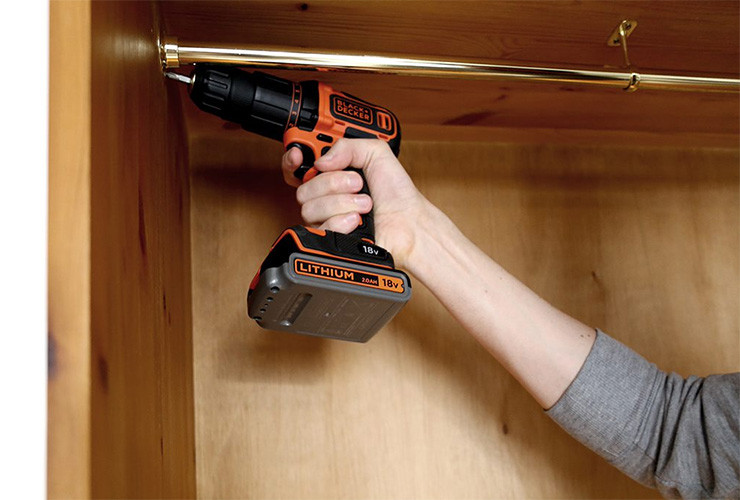
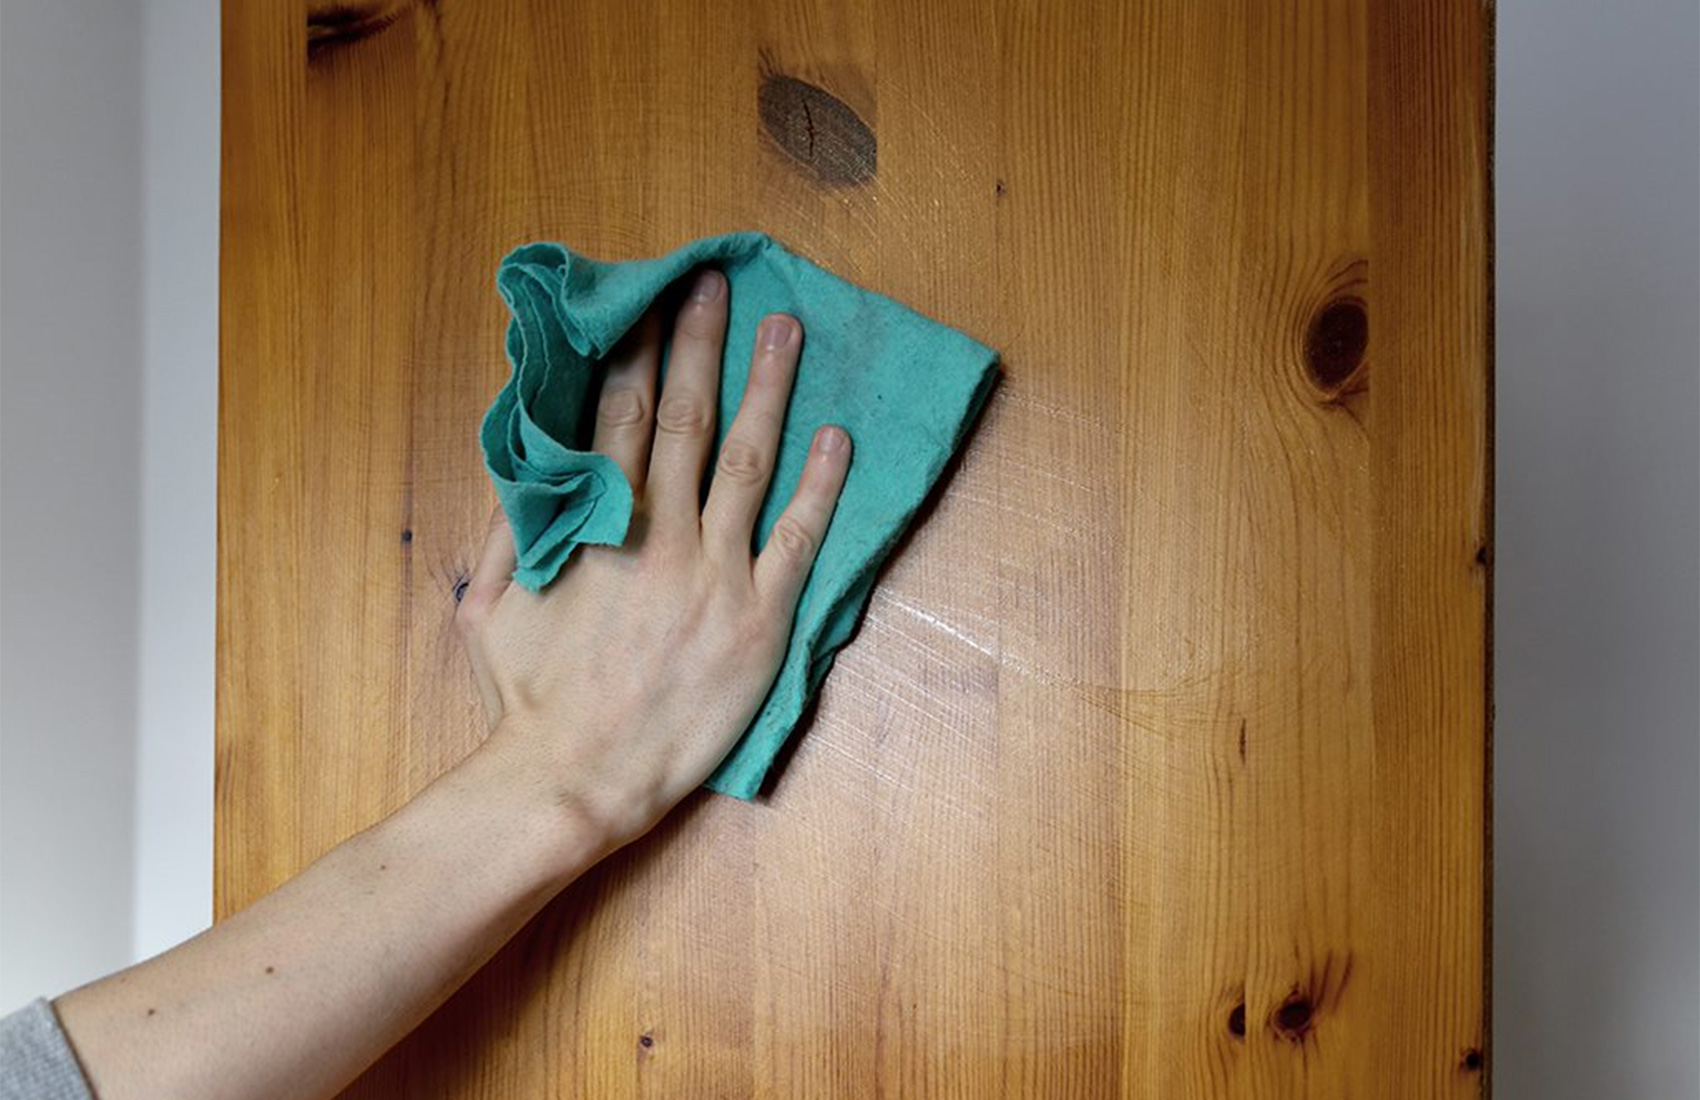
2.) SAND BABY, SAND.
Sanding is a crucial part of this process and unfortunately isn’t a one-time thing within the project! By sanding, you’re creating millions of tiny little scratches which increase the surface area that your paint can stick to – basically it helps with adhesion.
Fortunately, you don’t need to completely strip the piece you’re painting you simply need to rough it up a little. If it’s varnished, use the medium-grit sandpaper and ensure you’ve dulled down all areas (TIP: if you want to ensure a really smooth finish, go in with the fine-grit paper after this step). If you’re painting over old paint, the fine-grit sandpaper is all that is necessary.
Finish this step by wiping away any dust with a damp microfiber cloth.
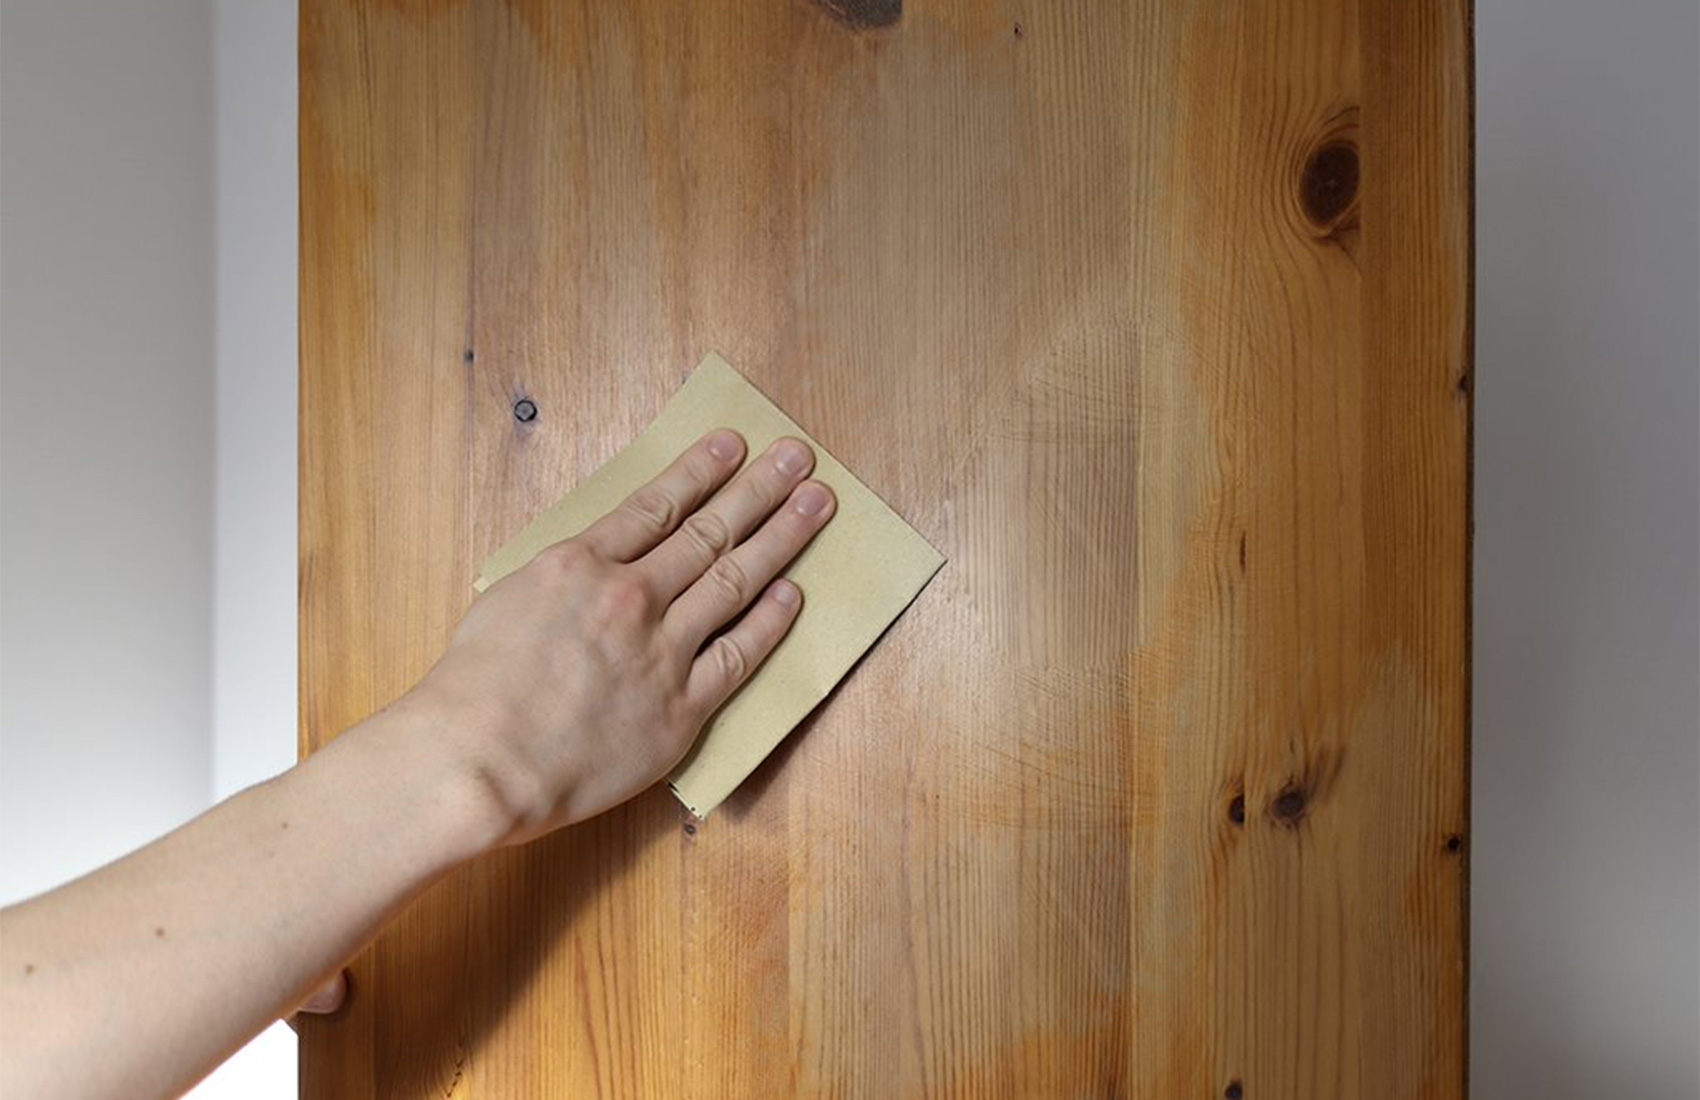
3.) PRIME TIME.
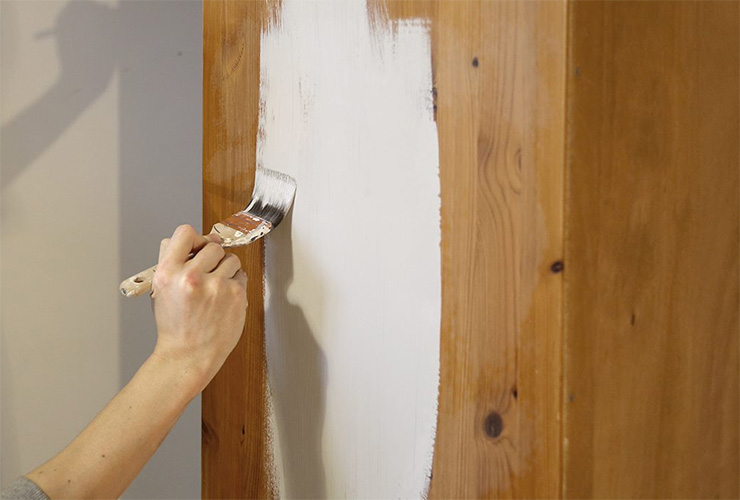
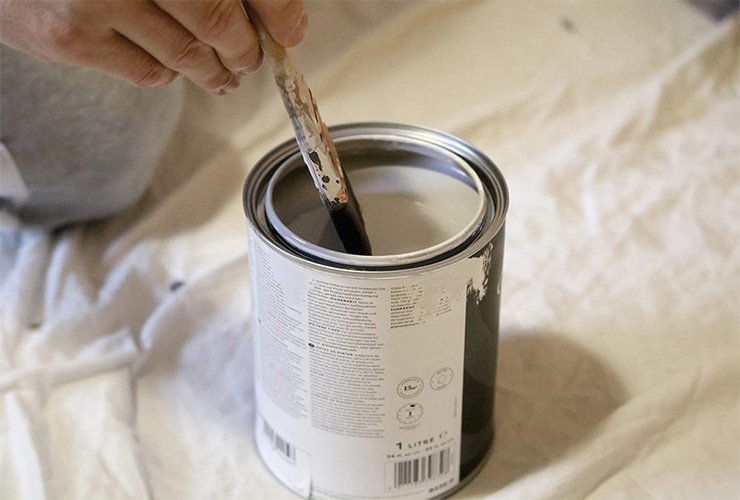
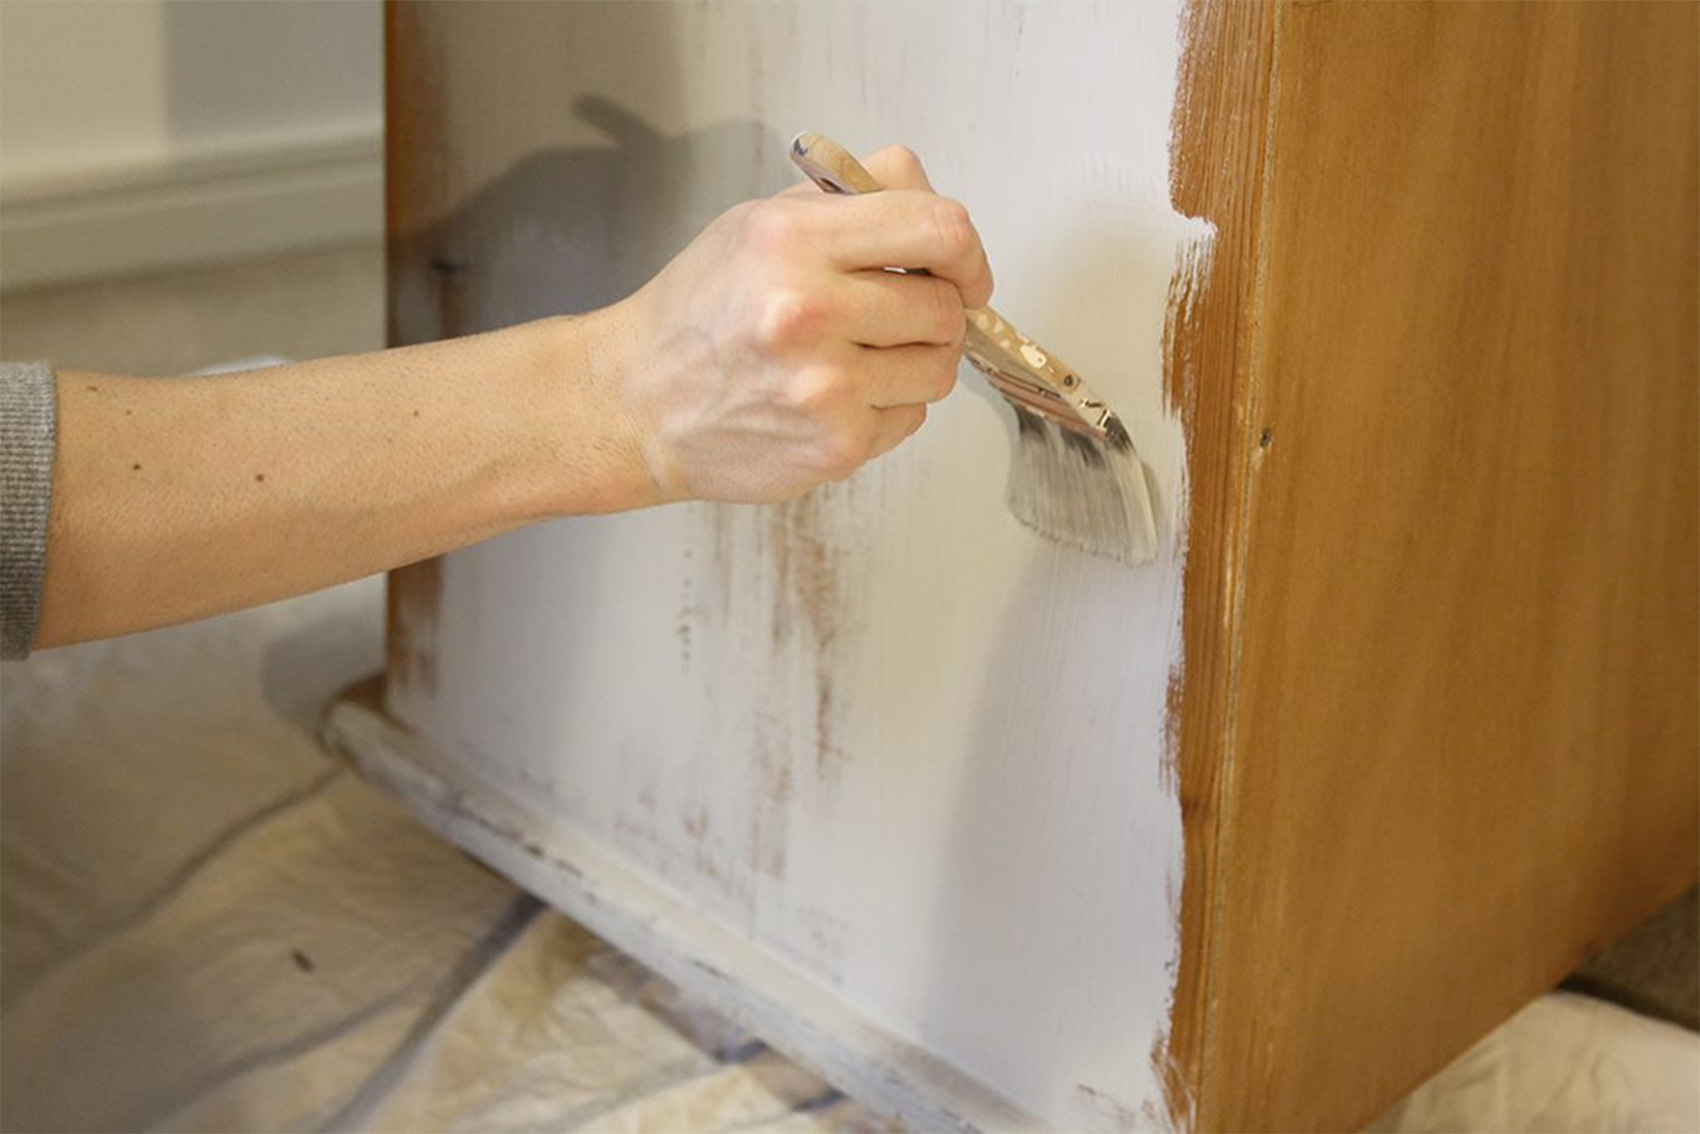
Apply a thin layer of our Primer & Undercoat to all surfaces that you’ll be painting. Don’t forget to stir your paint to ensure an even distribution of pigment.
If you have the option of mixing your primer to the same colour as your topcoat, do it! This will help with your colour transition. Luckily, we can mix into over 250 colours to help ensure you purchase the best shade for your project. If your specific topcoat shade isn’t available on our website, drop us a message and we can advise which shade to go for!
4.) PRIME TIME.
We’ve used a dark grey primer here, our topcoat colour isn’t available as an option in the Primer. Grey primer gives premium colour hiding and promotes a more uniform colour finish on deeper topcoat colours.
If you have the option of mixing your primer to the same colour as your topcoat, do it! This will help with your colour transition. Luckily, we can mix into over 250 colours to help ensure you purchase the best shade for your project. If your specific topcoat shade isn’t available on our website, drop us a message and we can advise which shade to go for!
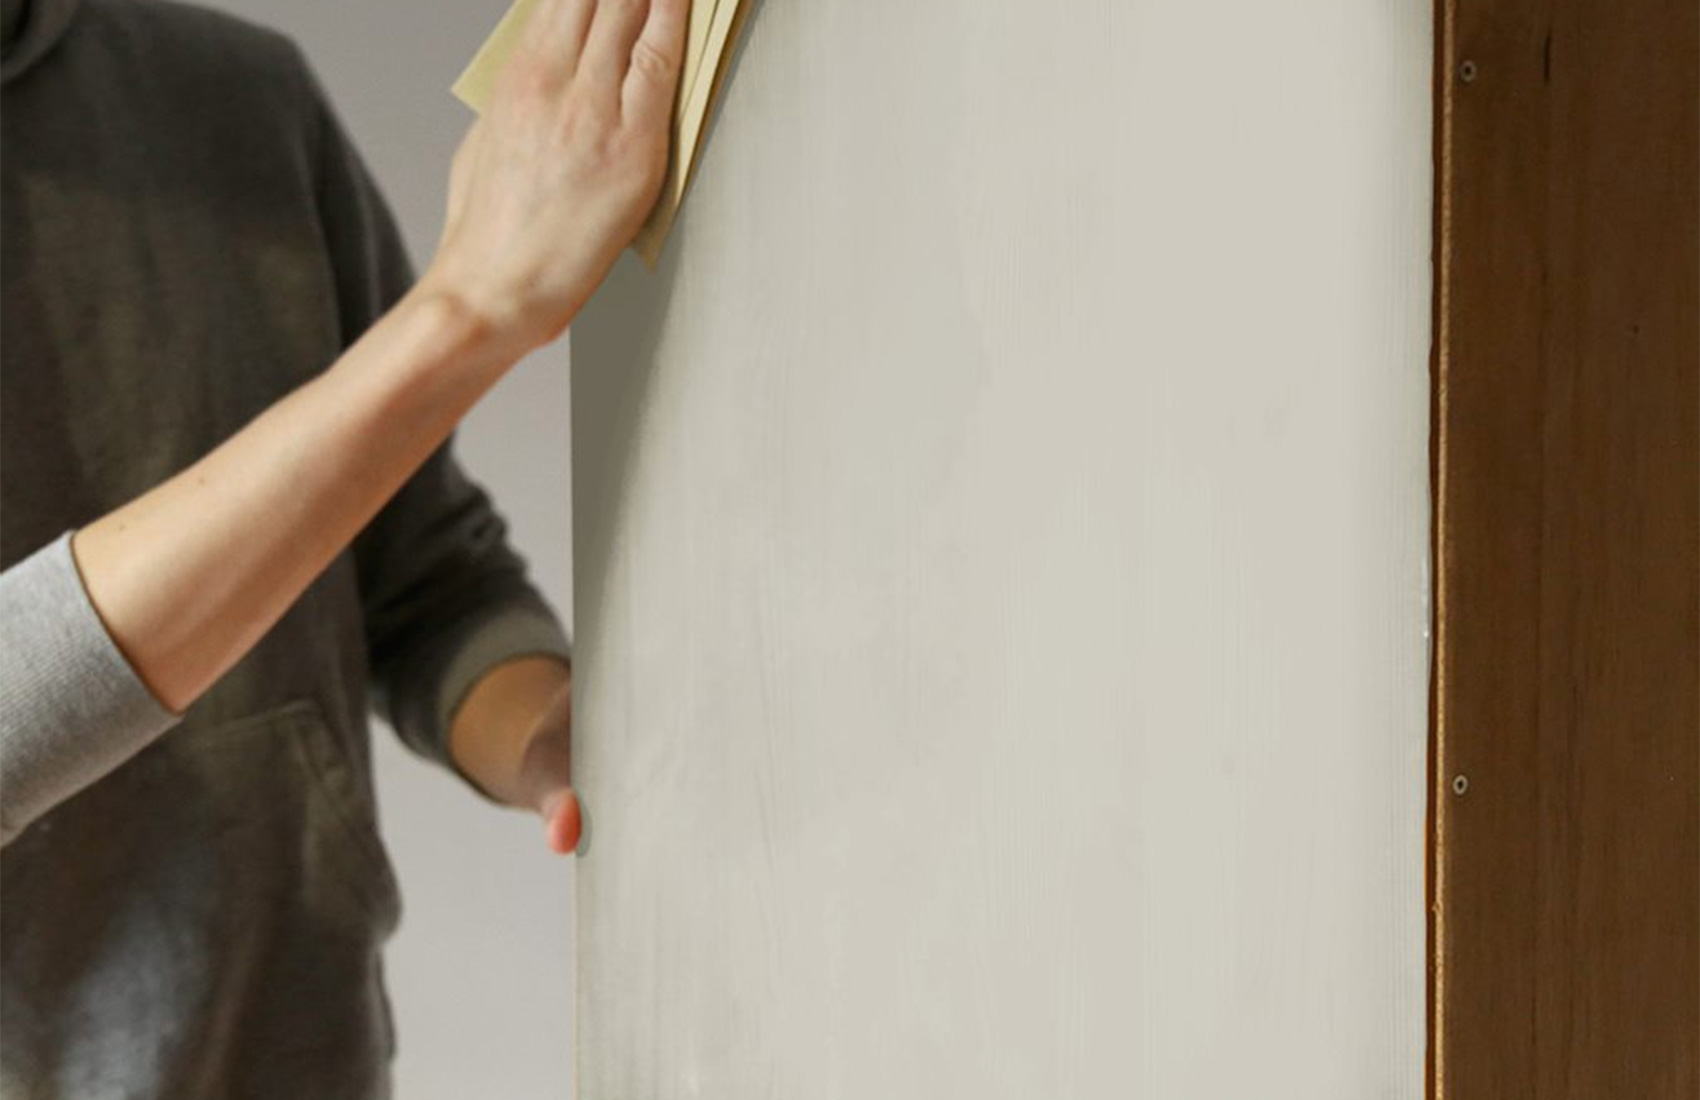
IMPORTANT STEP: Once the primer is fully dry, it’s time to sand again (we did warn you). Using your fine-grit sandpaper, give your piece of furniture another light going over remembering to wipe away all dust afterwards.
5.) THE MAIN EVENT.
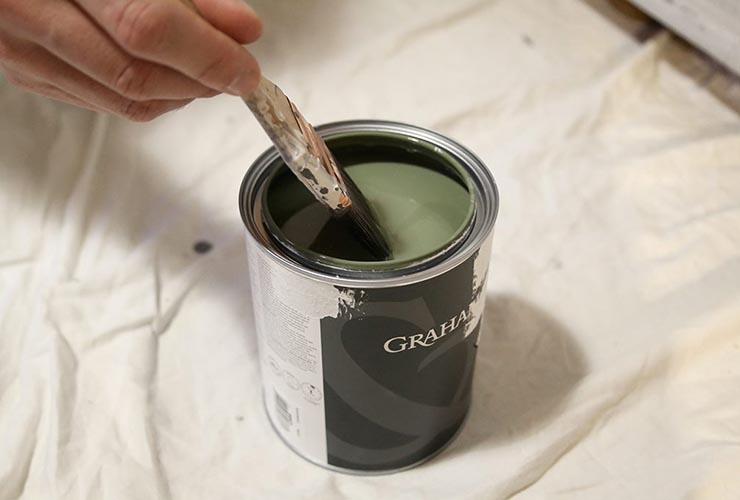
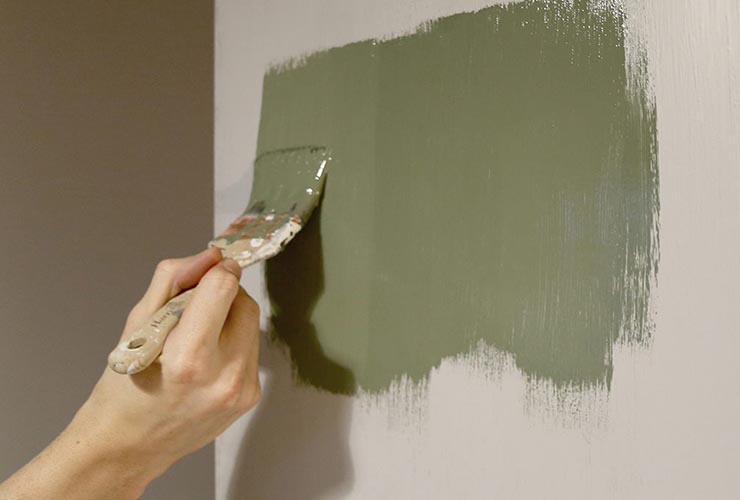
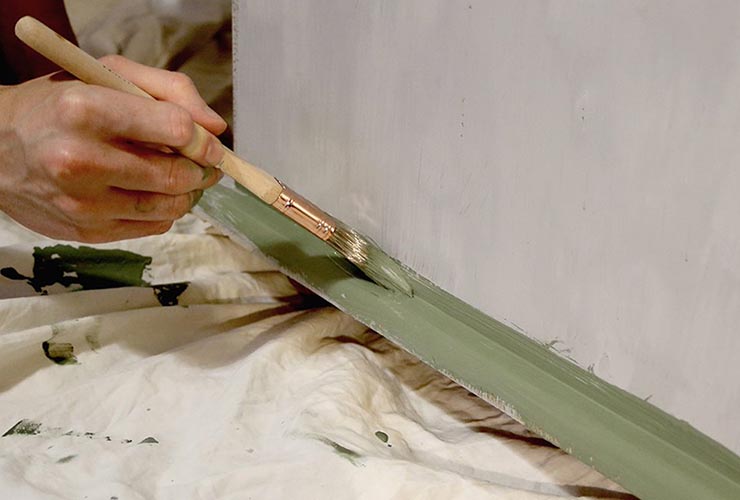
It’s finally time to paint that topcoat on. Stir your eggshell or gloss paint well and then apply 2 coats over all your furniture surfaces – remember to sand in between the layers after leaving to dry for the full drying time!TOP TIP
Paint detailed or smaller areas with your thinner brush and larger areas with your bigger brush.

6.) REASSEMBLE & ENJOY.
Allow all components of your project to fully dry and then reassemble them if needed. After this, simply move into the position you had in mind and step back to enjoy your hard work.
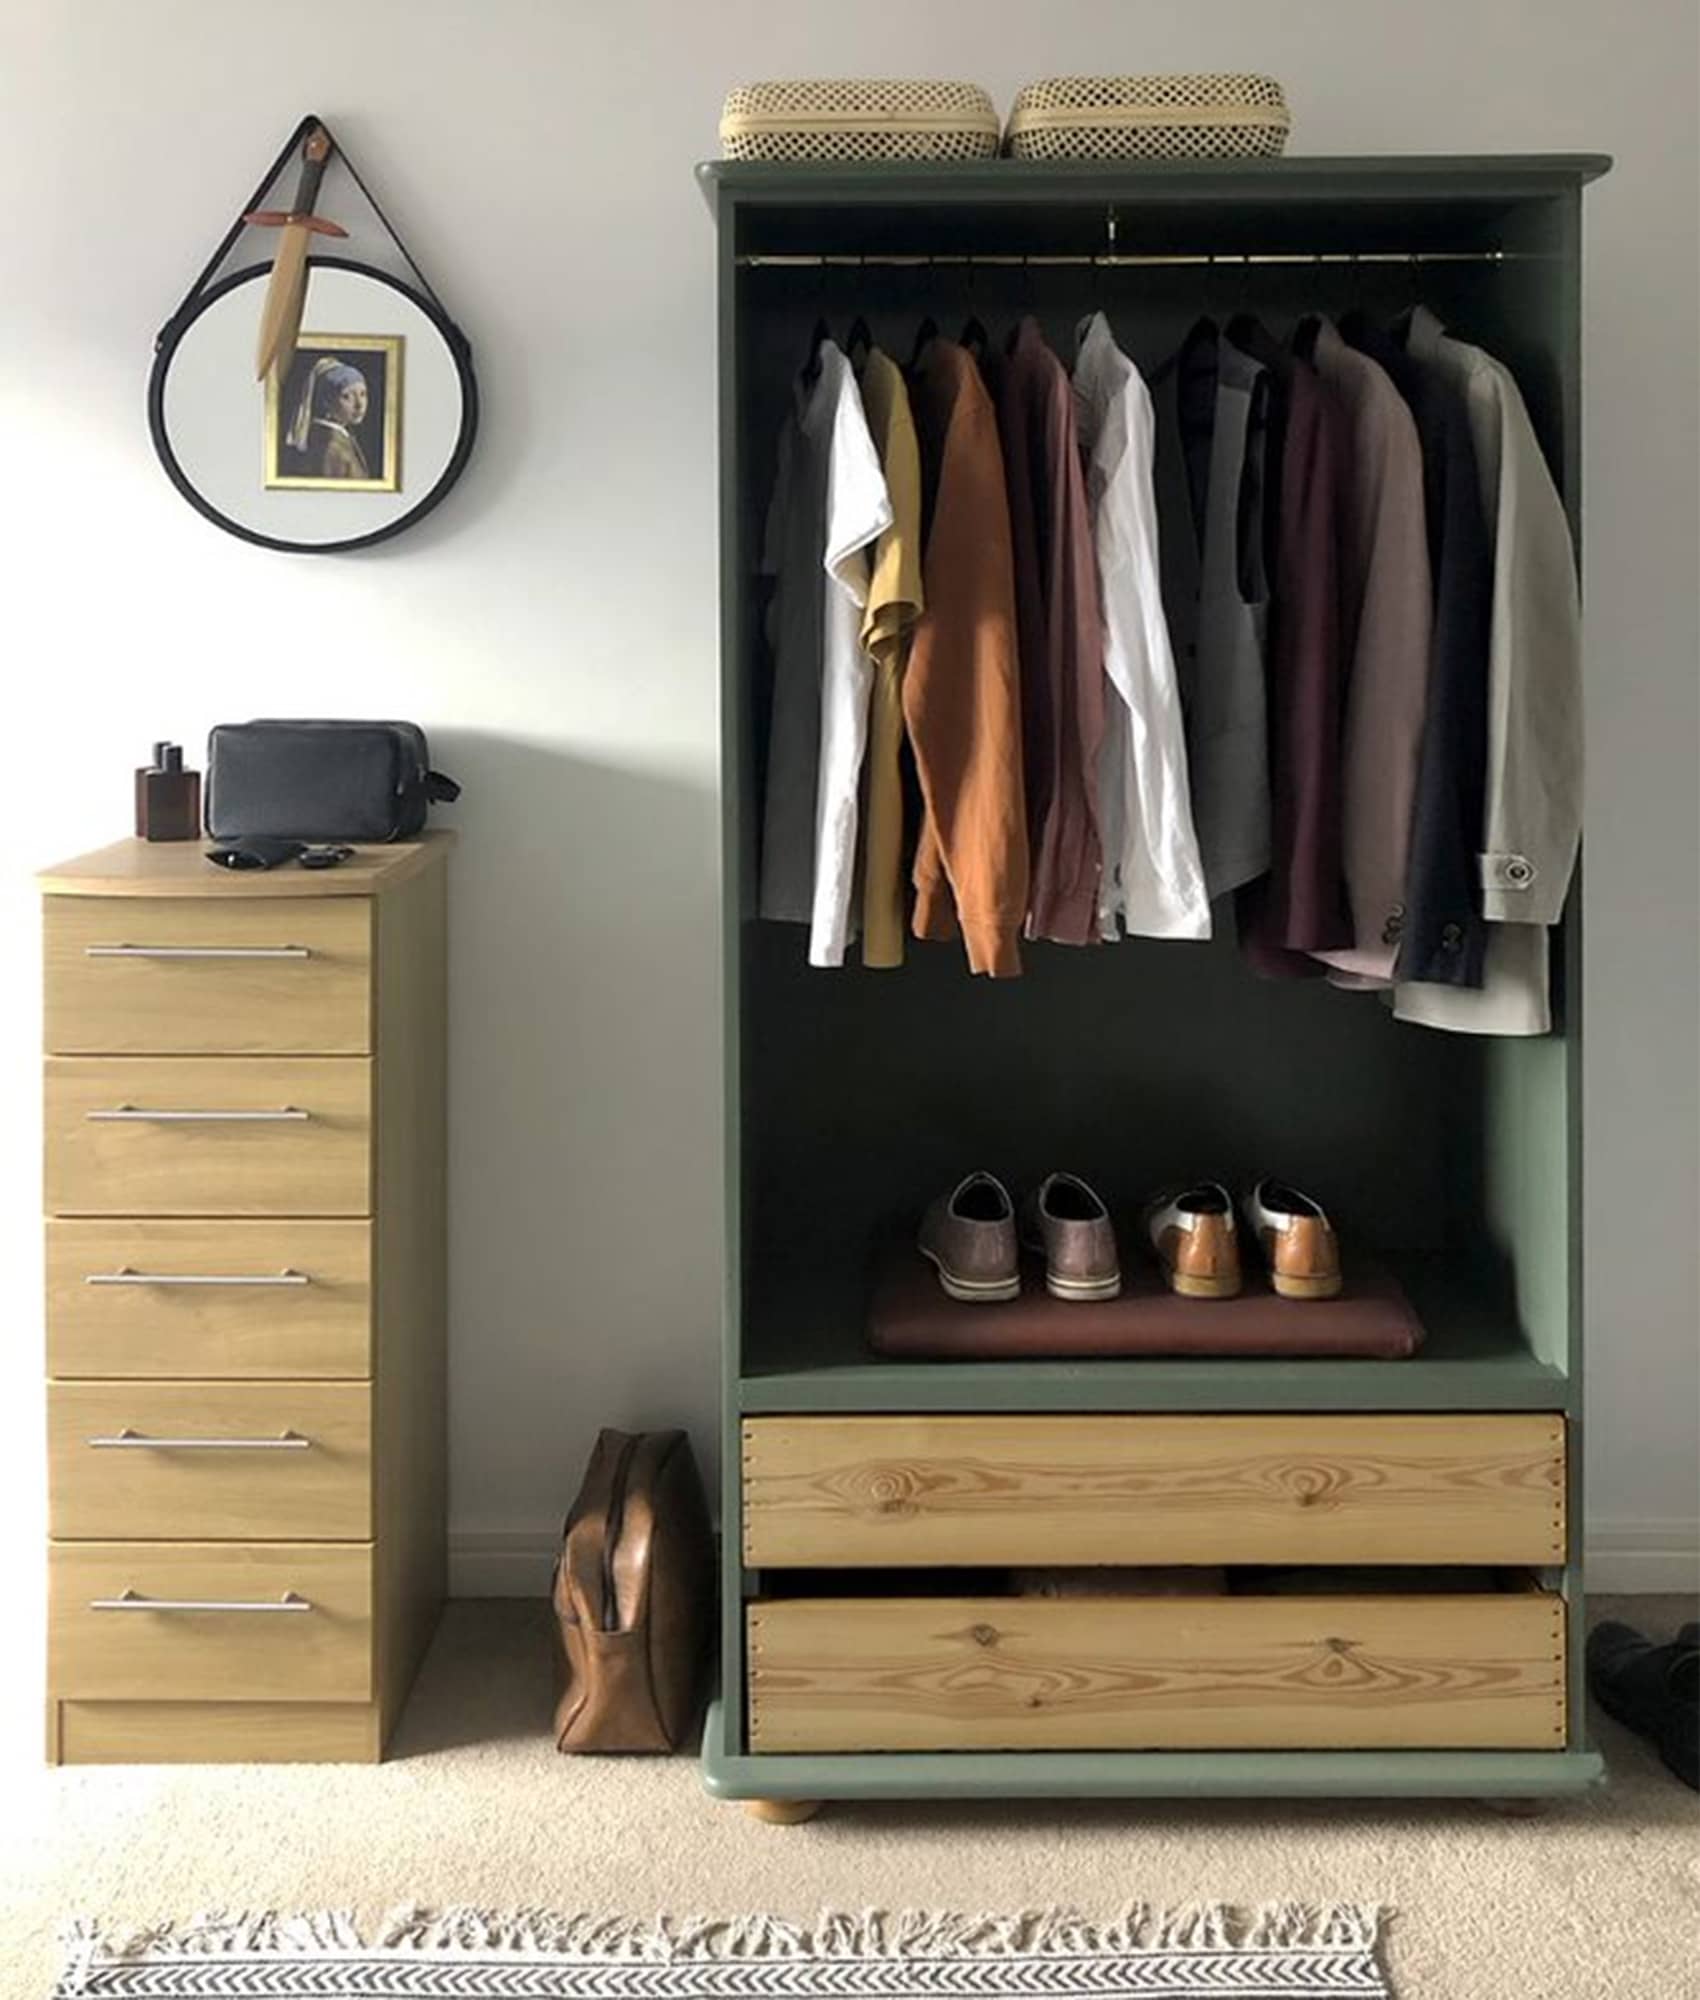
We decided to keep her doors off for this project to show case our great outfit choices!
