Colour Blocking Your Walls: What it Means and How to Do it
Learn how to colour block your walls and explore 5 amazing ideas for perfecting this modern, innovative look.

Tired of white walls? Colour blocking is an easy way to transform and add depth to your home décor. But deciding on the creative colour combinations that work best and how to pair shades together successfully isn't always as straightforward. From what colour blocking actually is to the ideas on how to make it work in your home, we break down everything you need to know about creating contrast with colour block walls…
What Are Colour Blocked Walls?
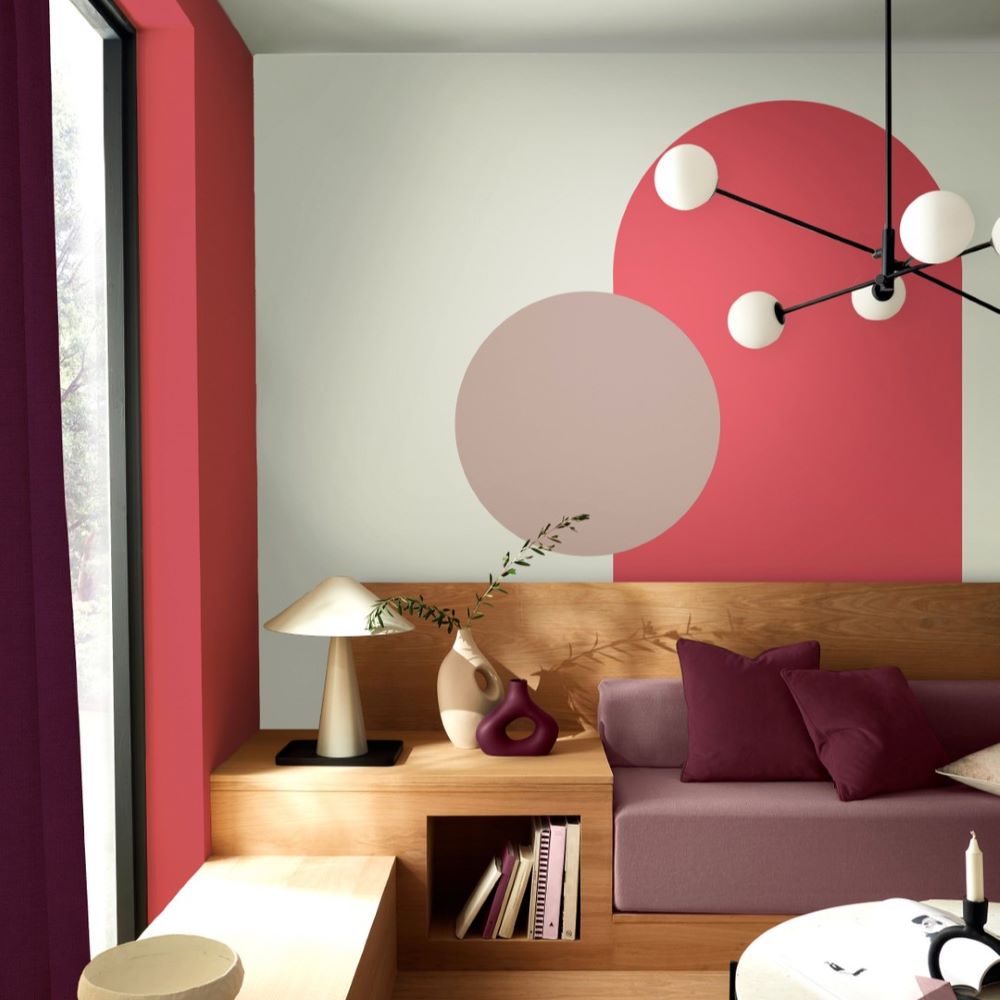
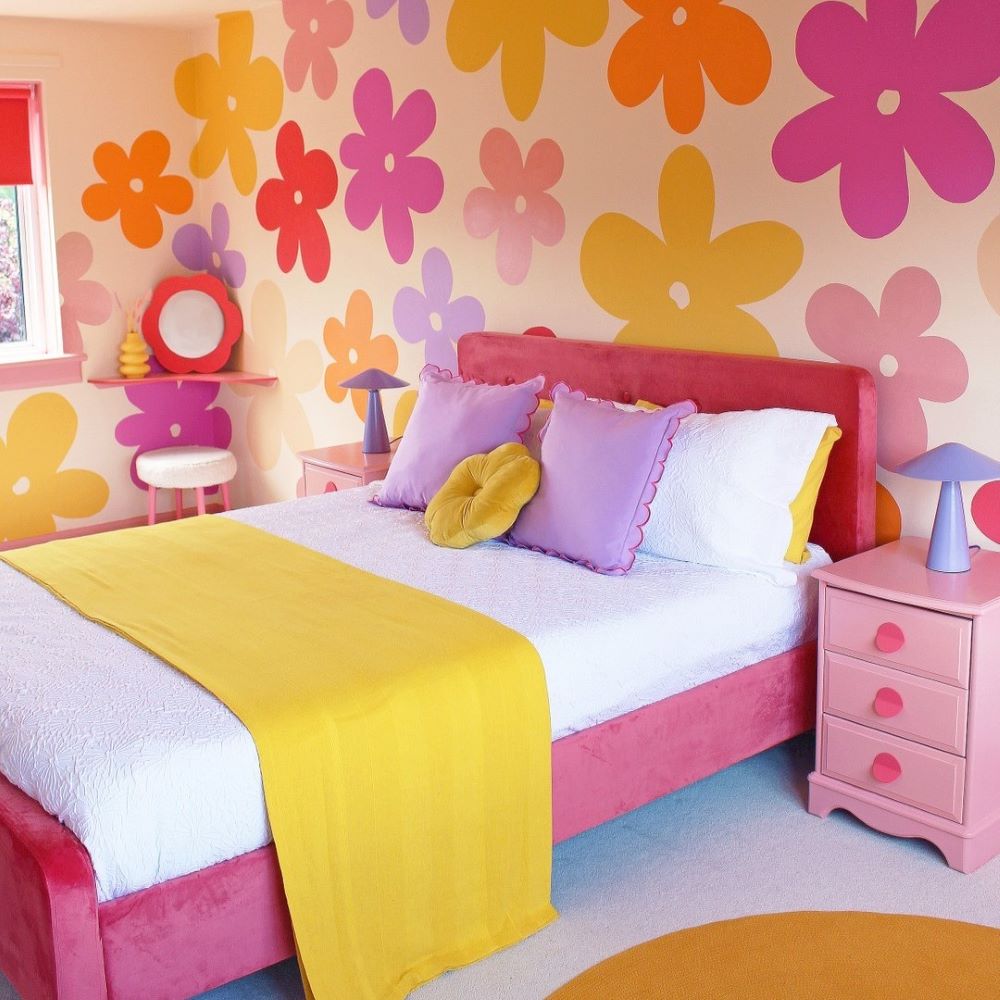
Colour blocking is a popular interior design trend where solid 'blocks' of colour are added to your walls in contrasting or complementary shades. Although the appeal of colour blocking is that there are no stringent colour rules to the number of tones you can use on the wall, it's often advised to stick to no more than three.
Whether you prefer monochromatic hues or bright shades, it's also important to consider your palette carefully, using the colour wheel as guidance. Another benefit to colour blocking? It can not only liven up neutral spaces but will also highlight certain features in your room. The good news is adding colour block walls to your room isn't quite as tricky as it looks…

How to Colour Block Walls in 5 Simple Steps
Want to get colour blocking walls right the first time? Follow our simple step-by-step guide to discover the stress-free way to achieve a professional colour-blocked look, from what you need, to the preparation you'll have to complete first. We've broken it down to make it easy enough for even the most novice DIYers.
Step 1: Get What You Need
First up, the essentials you will need include:
- Dust sheets
- Filler
- Sandpaper
- Gloves and goggles
- Tins of different coloured paint
- Paint brush
- Roller and tray
- Masking tape
- Tape measure and pencil
- Spirit level ruler
Step 2: Prepare to Start Painting
To make sure you get a smooth, professional finish, ensure your walls are prepped and ready for the colour block paint. Put on goggles and gloves, then use filler for any holes and cracks. Follow by sanding down the surface with sandpaper using circular movements. You can then clean your wall thoroughly to remove any dirt or dust with a water and sugar soap solution. Give your wall a final wipe-down with water and allow it to dry completely.
Once the wall is dry, use masking tape to cover switches, sockets and skirting boards. You'll also need to cover your furniture and flooring with dust sheets before you start colour blocking walls.
Step 3: Mark Your Walls
Next, mark your walls. If you plan on adding horizontal colour blocking, you can use your tape measure to measure from the floor to the top of your planned colour block. Use a pencil to mark the colour block line and ensure it is straight with a spirit-level ruler. Tape along the line with your masking tape, as well as the outside edges of your colour block area. If you prefer vertical colour blocks, work the same way, but use your tape measure to measure out from the corner of the wall.
Step 4: Paint Your First Blocks
Now you’ve marked out where you’d like your colour blocks to be, open your paint and stir it well. To ensure you have a neat edge, cut in around your planned colour block with a small paint brush. When you have finished cutting in, pour paint into the tray and use the roller to apply paint onto the wall. Start at the top and work your way downwards.
Step 5: Paint Your Other Blocks and Leave to Dry
To paint your other blocks, repeat step 4, again working from top to bottom. Peel off the masking tape while the paint is still wet to get a crisp line and allow your first coat to dry. Continue the process for the second coat.
Colour Blocking Ideas
If you're looking for an effortless way to liven up bland spaces, you can't go wrong with colour block walls. From choosing the colour to creating the shape, colour blocking lets you tailor the design exactly as you want it. So whether you're a fan of stripes or prefer a more modern two-tone look, we've compiled a list of the best inspiration around…

1. Stripes
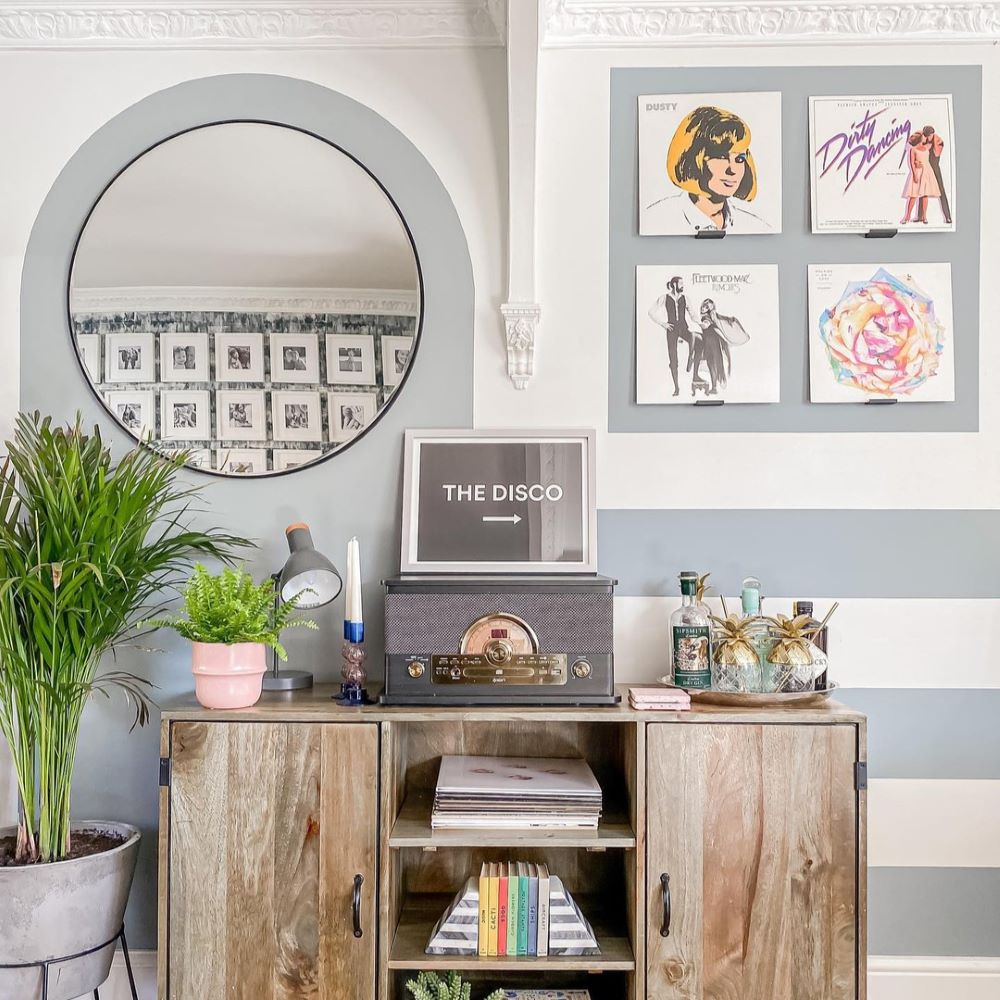
One way to enhance a room in an instant? Add stripes! And what better way than with some DIY colour blocking. Whether you go for horizontal or vertical stripes, it’s a classic look that won’t date. Not only that, but they’ll provide some visual trickery, too. Vertical stripes make rooms appear taller and ceilings higher, while horizontal stripes can make a space appear wider.
To achieve this look, you’ll first need to plan your stripe design. Once you’ve decided on what you want it to look like, measure the wall and divide by the number of stripes you’ve decided on to find out the stripe width. You’ll need to measure the width for horizontal stripes and the height for vertical stripes. Next, mark out the stripes with a pencil and measuring tape, and follow by placing masking tape along the pencil lines. Now you can paint the stripes! Just remember to remove the tape when the paint is still wet.
2. Geometric
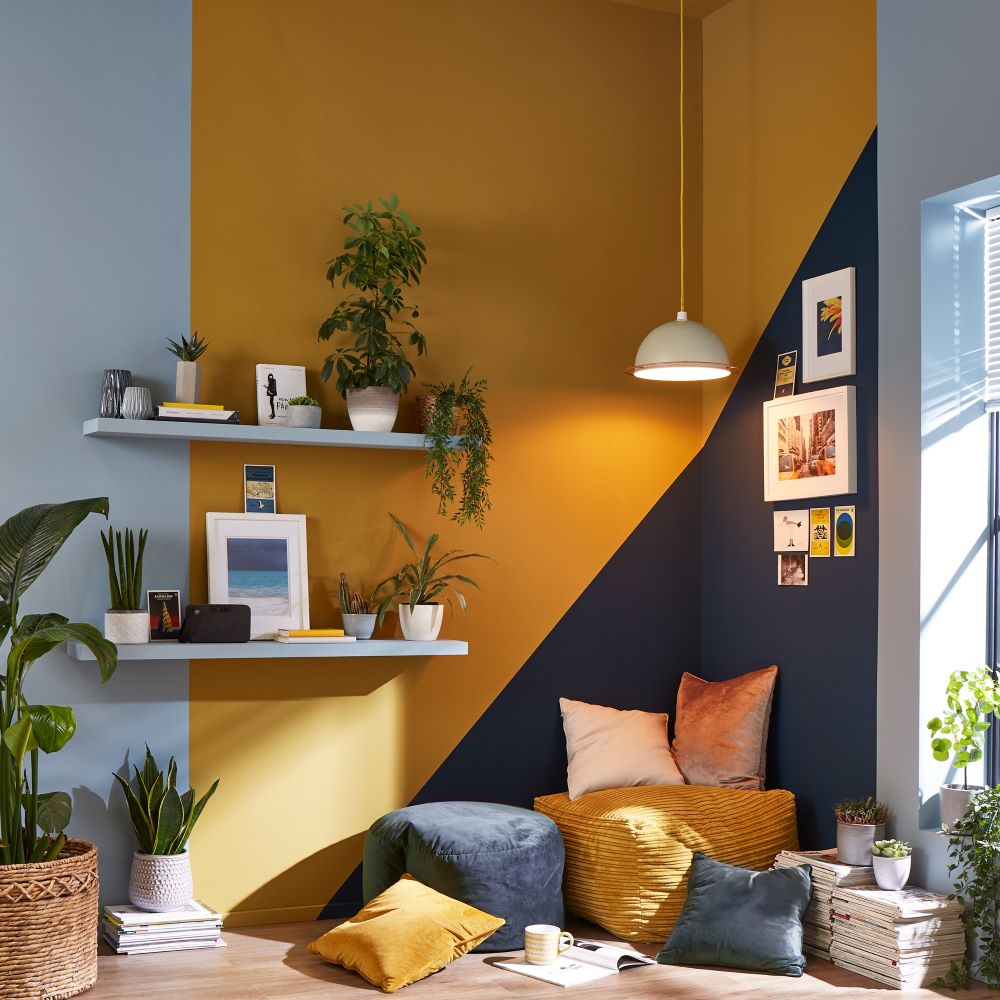
If you're after a contemporary cool aesthetic, try colour blocking in a geometric pattern. Using squares, triangles, diamonds, and other repeating shapes will introduce an eye-catching element to any room.
The first step in painting a geometric wall? Preparing your wall properly first, including removing any blemishes and cleaning the wall of any dirt, is key. Follow with a primer and allow it to fully dry for at least 24 hours. Once you've planned your geometric design, measure it out on your wall with a pencil and measuring tape. When you're happy with how it looks, apply masking tape along the pencil lines of your shapes. Fill in certain elements of your geometric design with your first chosen paint colour, leave to dry and apply your second coat. Remove the masking tape. When these painted shapes have fully dried, reapply masking tape and fill in the rest of the shape with your other chosen paint colours.
3. Two-Tone
Maybe you've got a blank white wall and want to freshen it up without breaking the bank, or you just can't commit to a colour scheme. If that sounds familiar, then two-tone colour blocking is for you. Simply split your wall into two blocks of colour by measuring the wall and using masking tape before half-painting it. Try using a darker colour on the bottom and a lighter neutral on the top half to create a sense of spaciousness.
You could also mix unexpected colour combinations like Graham & Brown's neutral Angel Dust with a striking shade like Saffron, and you may be surprised at how well they contrast with each other. After all, why settle for one paint colour when you can choose two?
4. Complementary Colours
Not sure where to start when it comes to colour blocking walls with complementary colours? To find a palette of colours that work best together, it's a good idea to take a look at the colour theory and the colour wheel. Hues that sit on opposite sides of the wheel create a high impact look when paired together, such as red and green, purple and yellow and orange and blue. For a softer, more harmonious interior, match blocks of deeper or lighter tones of the same hue for a tonal colour combination.
Another important thing to keep in mind? Teaming colours of a similar intensity. If your main paint colour is bold, select other paint colours that are just as bold. The same applies if you've picked out a pastel as your primary colour, you'll need to make sure you complement it with other pastel shades like blush pink or even metallics.
5. Create a Focal Point
Colour blocking as a feature never fails to inject personality into an interior. With a myriad of style options and colour combinations to choose from, you can design a colour block wall to suit your home and budget. Plus, colour blocking doesn't only mean teaming up paints with other paints, either. You could create a striking feature with a paint and wallpaper combination, or colour block with a painted wall and accessories. However, you choose to use colour blocking as your focal point, pairing it alongside three neutral walls, a crisp white ceiling and window frames will provide great contrast and depth.
