How to Paint Skirting Boards
A complete guide to painting skirting boards in any room
Skirting boards are the perfect way to finish off a room, whether it’s to tie it all together or just create a seamless transition through different areas in your home. However, they are often overlooked when they actually play a big part in an interior space. But how can you make them a bigger part of your interior design? And is there a trick when it comes to how to paint a skirting board?
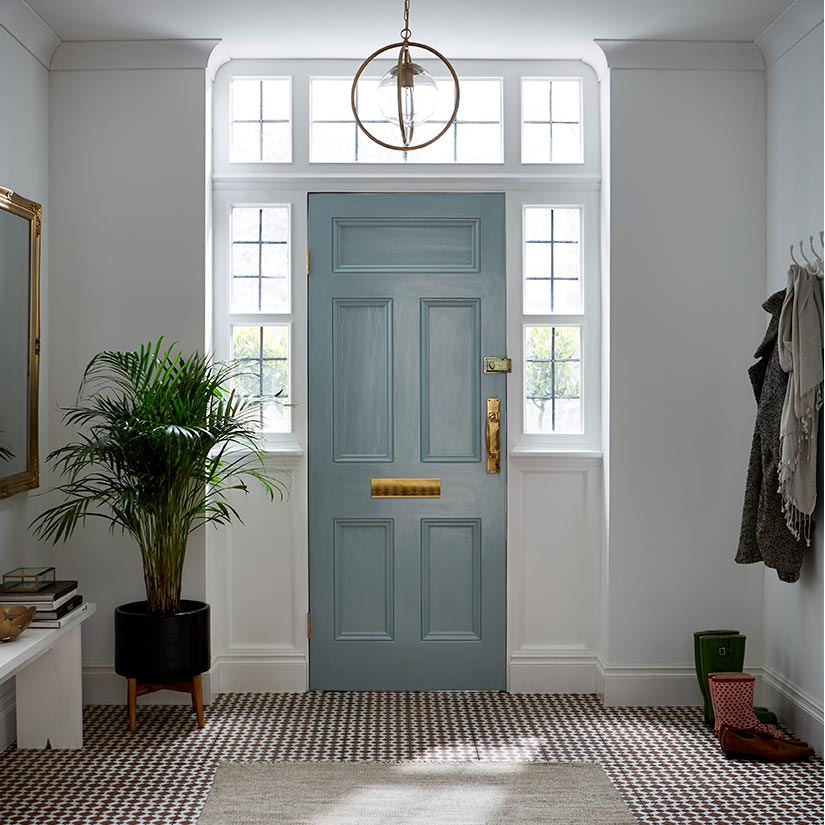
Skirting boards don’t always have to be white, either. We have over 400 different colors to paint your skirting boards with, so you can get creative and color accent to create a truly special and unique interior.
If you’re painting your whole room, it’s widely debated which to paint first - skirting boards or walls? We would recommend painting skirting boards first and allowing them to dry as emulsion will then easily wipe off should you get any on your woodwork.
TOOLS YOU’LL NEED TO SAND AND PAINT YOUR SKIRTING:
- Sugar soap solution
- Sponge
- Dust sheets/floor protector
- Masking tape
- Sandpaper
- Wood knotting solution
- Primer/Undercoat
- Eggshell/Gloss
- 2” paint brush
PREPARATION FOR PAINTING IN THREE EASY STEPS
Preparation is key when painting skirting boards as not only does it ensure a professional finish but also ensures you get the most out of your paint durability. It will also make your paint go further. This simple, three-step process will make sure your skirting boards are properly prepared by cleaning, protecting the floor, and sanding the skirting boards for a flawless finish.

1.) PROTECT YOUR FLOORS
You’ll be working close to your floor with paint, so to make sure no spills ruin your carpet or polished wood floor, put down dust sheets to protect the surface of the floor. Try to get them as flat as possible so that no folds make contact with the freshly painted skirting boards and ruin the finish.
2.) CLEANING THE SKIRTING BOARDS
Move any furniture or objects out of the way so that you can easily access all of your skirting boards. Bear in mind that you may have to get your paintbrush underneath obstacles like radiators, so you’ll need plenty of space to move around. The skirting boards can now be thoroughly cleaned and prepared. The best thing to use is sugar soap, although warm soapy water should be just as effective in removing grime and dirt. The cleaner your skirting boards, the better the finish will be.
3.) SAND THE SKIRTING BOARDS
Once they are completely dry, you can sand the surface to smooth out any blemishes and to key the surface so that the new paint can ‘grip’ the skirting board. This is an important part of the preparation process and will ensure you get the best possible results and a more durable finish. Make sure you hoover up any dust and give the sanded surface a quick wipe down with a damp cloth. At this point, you can also use masking tape above and below the skirting boards so that your paint doesn’t migrate onto your floors or walls!

PAINTING NEW WOOD
When painting new wood, it’s important to understand the steps that need to be taken to ensure you achieve the best results. Here are some top tips to help you get a professional-looking finish and to make those skirting boards play a bigger role in your interior design.
1.) TREAT THE SKIRTING BOARDS
Start by treating any wood knots with an appropriate wood knot solution, this is to ensure no resin seeps out and ruins your beautiful new paint. At this stage, you can also ensure that your new skirting boards are uniformly smooth and that the surface is blemish-free.
Although they may say that they are ‘paint ready’, it’s always wise to check your new skirting boards thoroughly and to sand down any lumps, bumps, or splinters that may have been missed by the manufacturer. It also ensures that you have a properly keyed surface that the paint can adhere to properly, giving you a smoother, more professional finish.
2.) APPLY THE PRIMER
A primer ensures that your topcoat goes on flawlessly, and that no natural marks or graining in the wood shows through to ruin the finish. Primer is simply an undercoat that is applied in the same way as normal paint - remember that you will need to thin it a little to get a light, even coat.
Dilute our Primer & Undercoat with up to 3% water and paint on using a good quality synthetic brush. Be careful to avoid any runs or drips, and make sure that you use light, even strokes to avoid brush marks or streaks.
3.) APPLY A SECOND COAT OF PRIMER
After the first coat of primer and undercoat has dried, it’s time for your second coat. It is very important to make absolutely sure each coat has had enough time to dry before you move on to your next one. Allow at least 4-6 hours, depending on room temperature. Lightly sand between each coat to ensure a smooth finish.
The second coat should give you a matt finish with no sign of wood graining showing through. This layer doesn’t have to be diluted, so you can paint it onto your skirting boards straight from the tin.
4.) APPLY THE TOPCOAT
Once the second coat of primer has dried, you can now apply the first coat of color. There is no need to sand back the primer, you simply paint your skirting board paint straight onto the surface. To get the best effect, it is best to apply at least two coats of colour. This gives a richer, deeper color and also ensures that the paint is robust enough to cope with everyday knocks and bumps. Choose either an eggshell or a gloss finish and allow the paint to dry completely between coats.
REPAINTING SKIRTING BOARDS
If your skirting boards are already painted, there are a few easy steps to follow to help you achieve the best results. By taking your time on the preparation, you’ll get much better, more professional-looking results that tie in your skirting boards with the rest of your interior design. You’ll also find that they will stay looking better for much longer, and can cope with all the bumps and knocks that life tends to throw at the humble skirting board!
1.)FIX ANY CHIPS & DENTS
If there are any dents or small chips, the best way to achieve a perfect finish is to fill them in. This is a quick and easy job that simply requires a little bit of effort and some filler. To fix chips and dents in your skirting board, use this simple three-step process:
1.Sand the surface around the dent or chip so that any splinters or loose wood chips are completely removed.
2.Use a good quality wood filler to fill the chip and mould to match the shape of your skirting. It doesn’t have to be perfect, but try and get it as close as possible to the shape of the board.
3.Wait for it to dry thoroughly. You can now sand any excess filler off until the bump or chip is completely invisible.
Top Tip:Use your fingertips to check that you’ve achieved a perfectly smooth surface - your fingertips are incredibly sensitive, and you’ll instantly feel any imperfections.
Wipe over with a damp cloth to remove any dust and allow to dry before painting.
2.)APPLY THE PRIMER
Any filled holes need a quick coat of primer. Dilute our Primer & Undercoat with up to 3% water, and just prime the areas you have filled.
Repeat the same process with your topcoat of gloss or eggshell, putting on two coats for maximum effect and the best possible finish. Allow plenty of time for the first coat to dry (around 4-6 hours) before applying the second coat.